Ceramic Wave Tiles

This is an overview of how we made the wave tile wall-hanging piece highlighted in the portfolio. It started by designing a wave-shaped profile that we liked using math/plotting software, printing several large copies (or 8.5"x11" copies, cut and taped together), and then going through the steps outlined below.
- Will & Lana
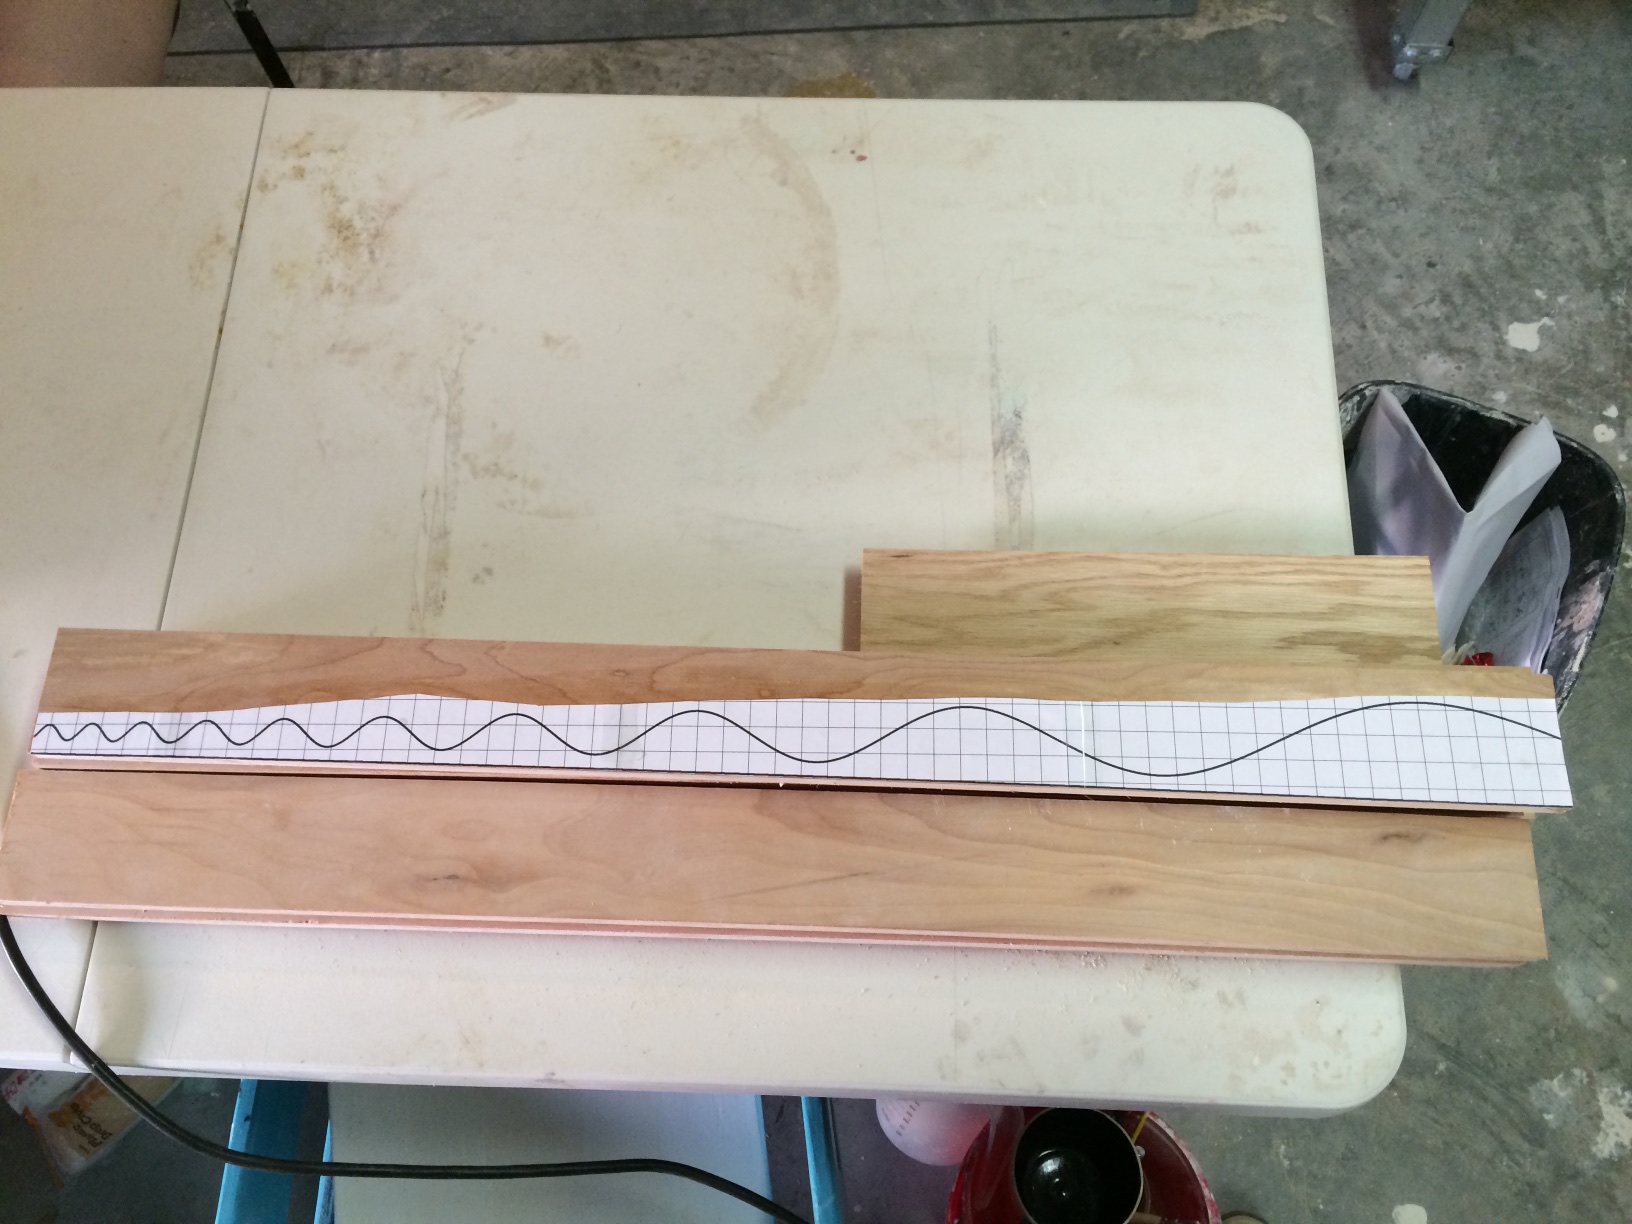
Cut out and stick pattern onto wood strips using adhesive spray.
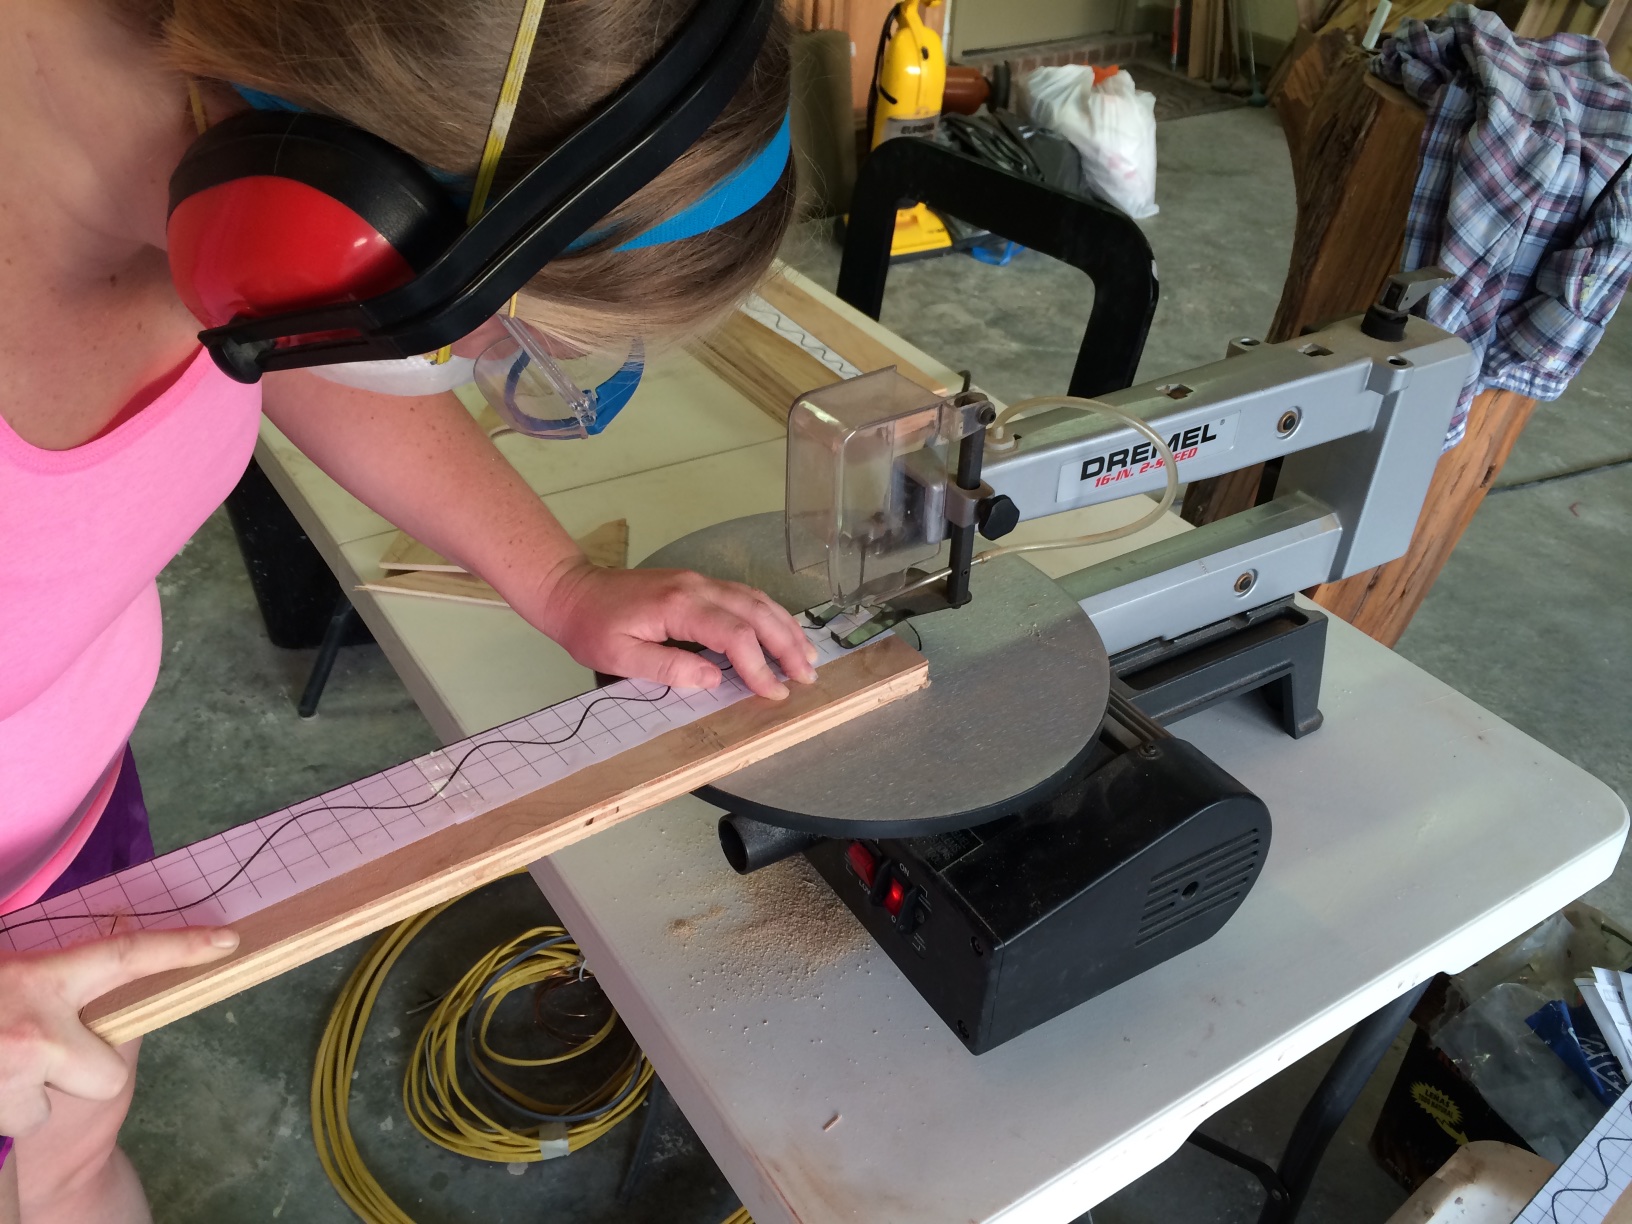
Cut out the pattern using a scroll saw or jig saw.
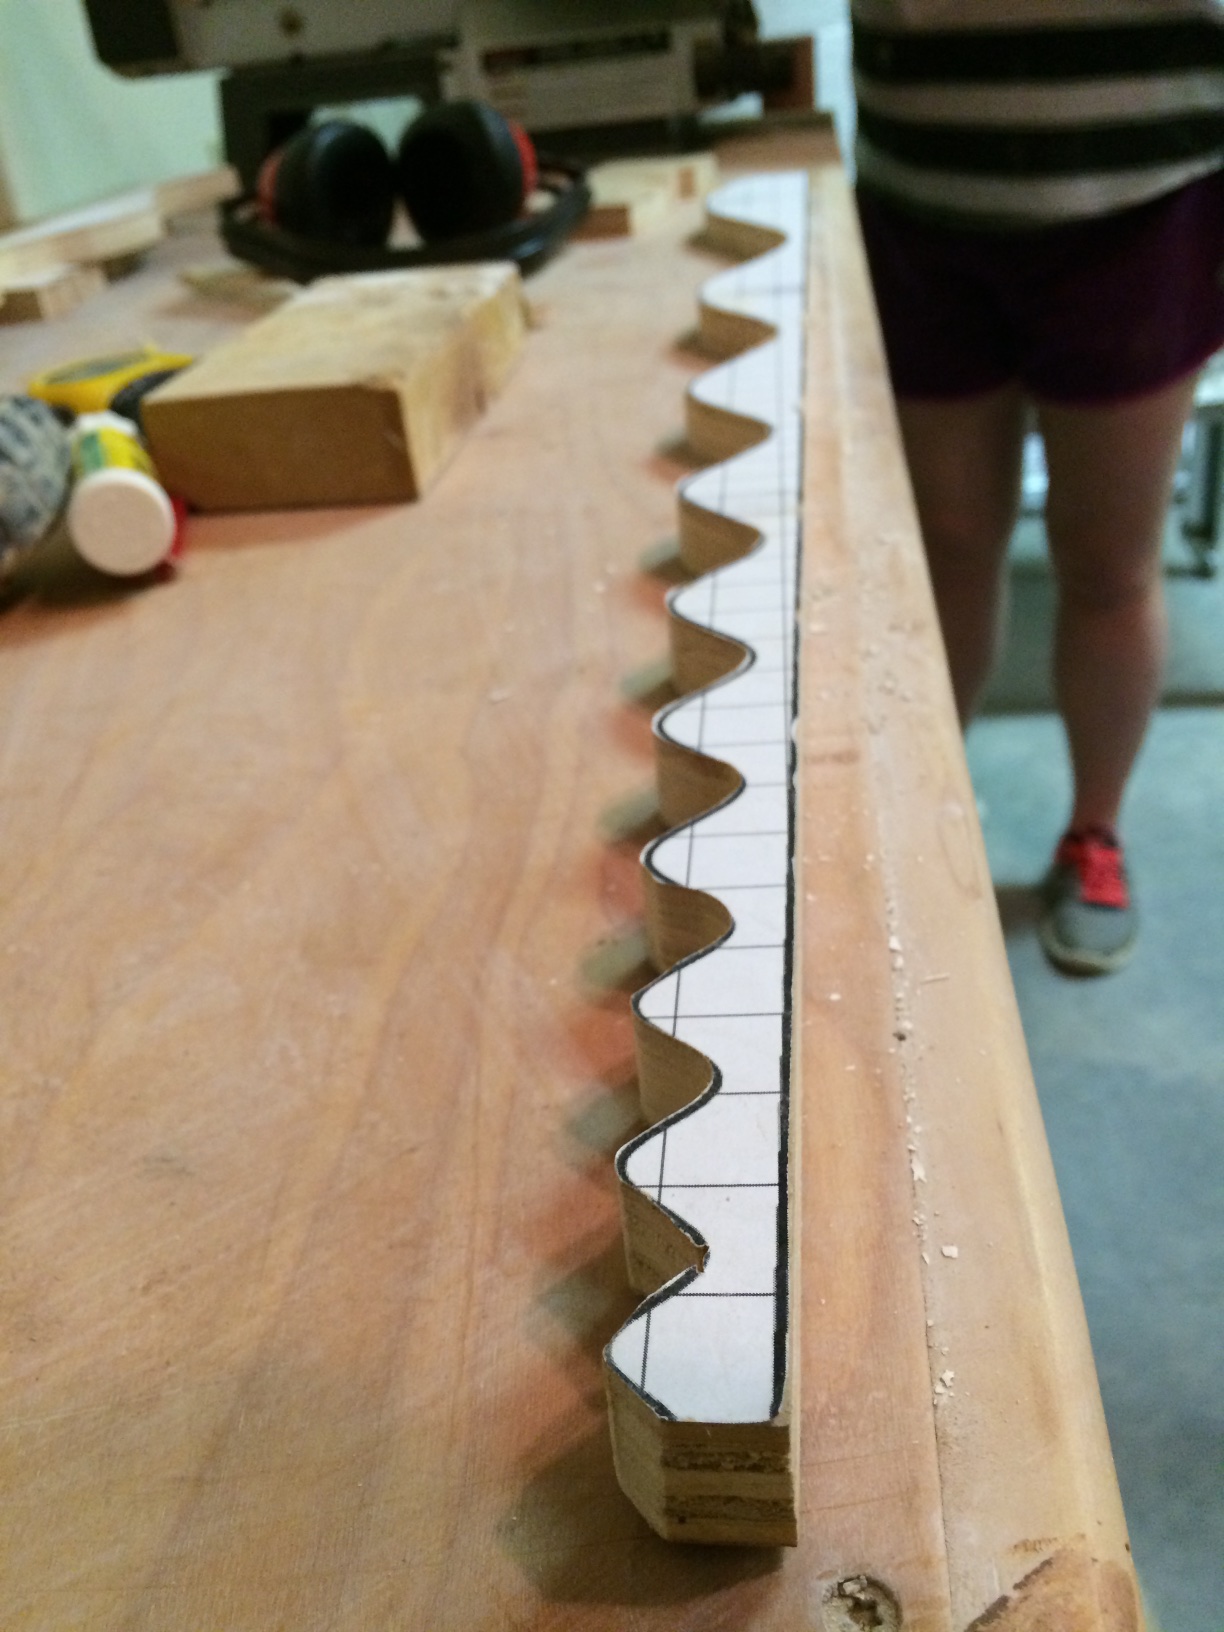
Finished strip of wood with profile cut in it.
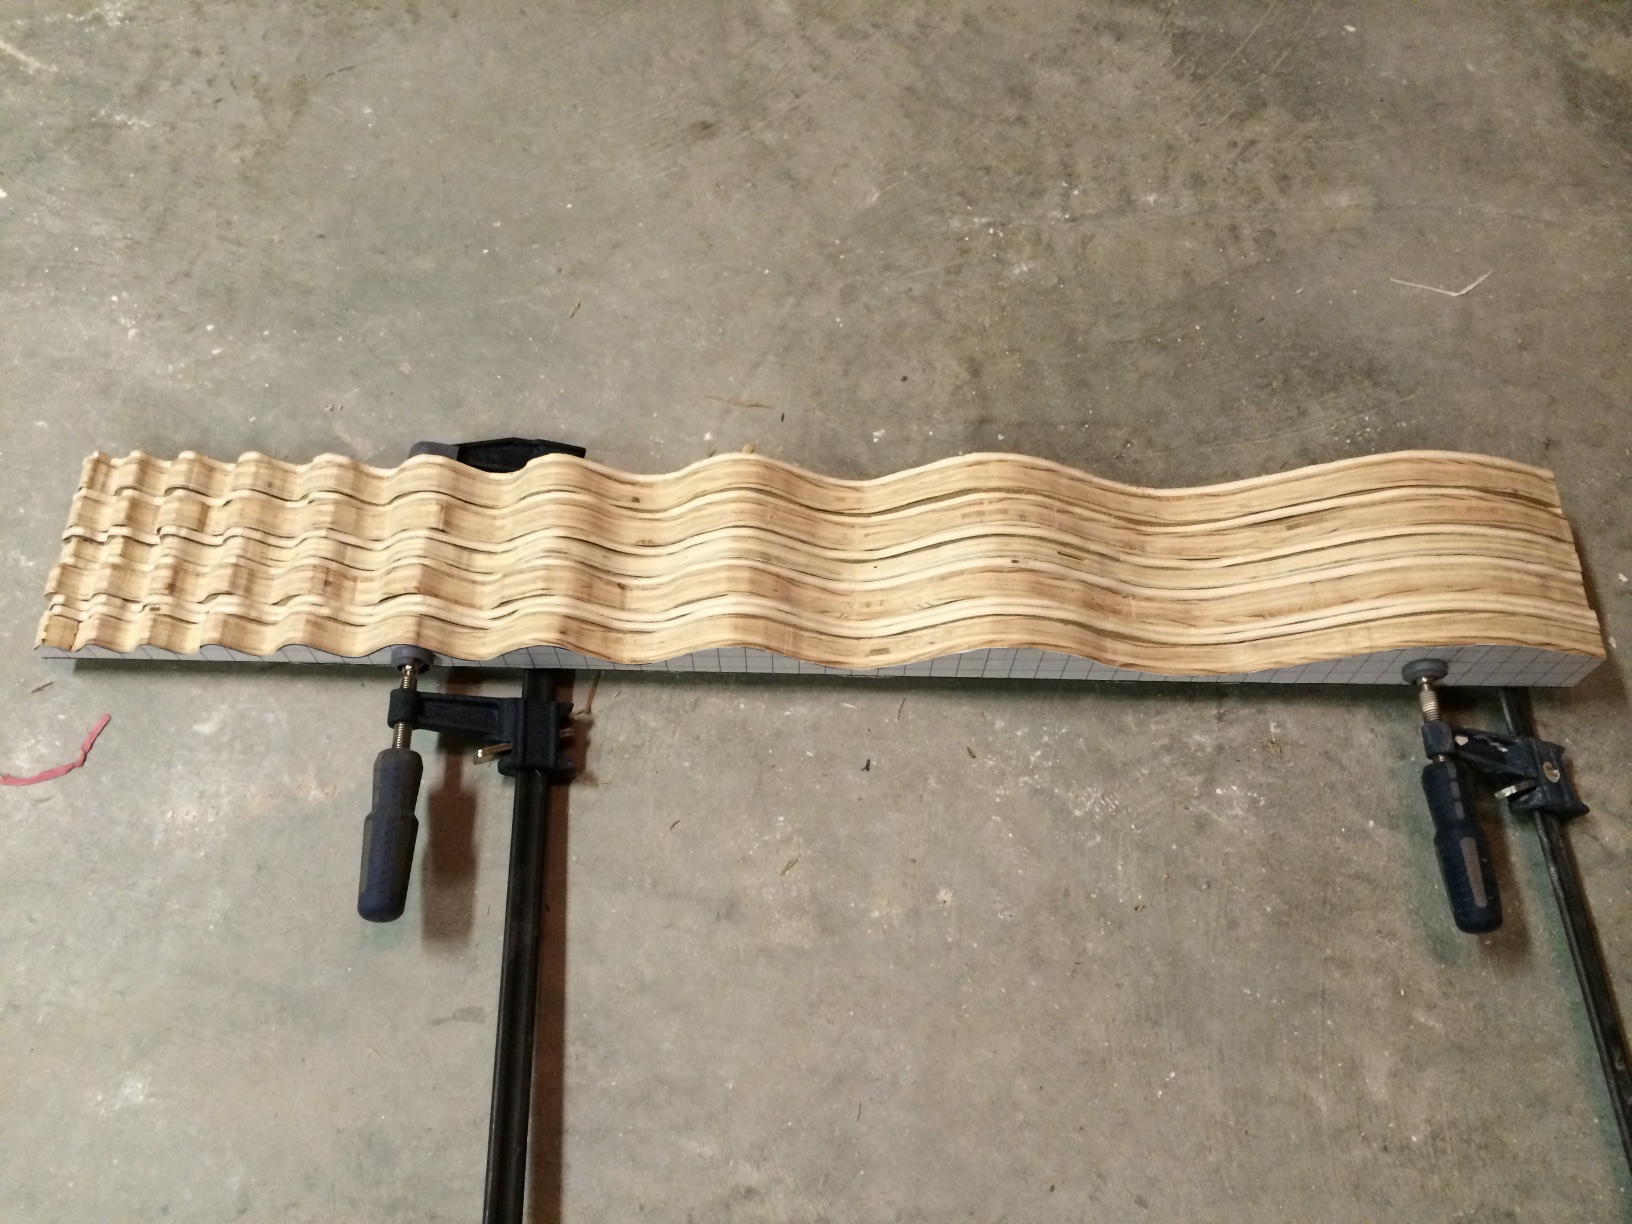
Repeat the pattern-cutting process until enough strips are cut. Apply wood glue to the strips, stack them, and clamp them together. We used different thickneses of wood, and staggered the strips slightly for a unique texture.
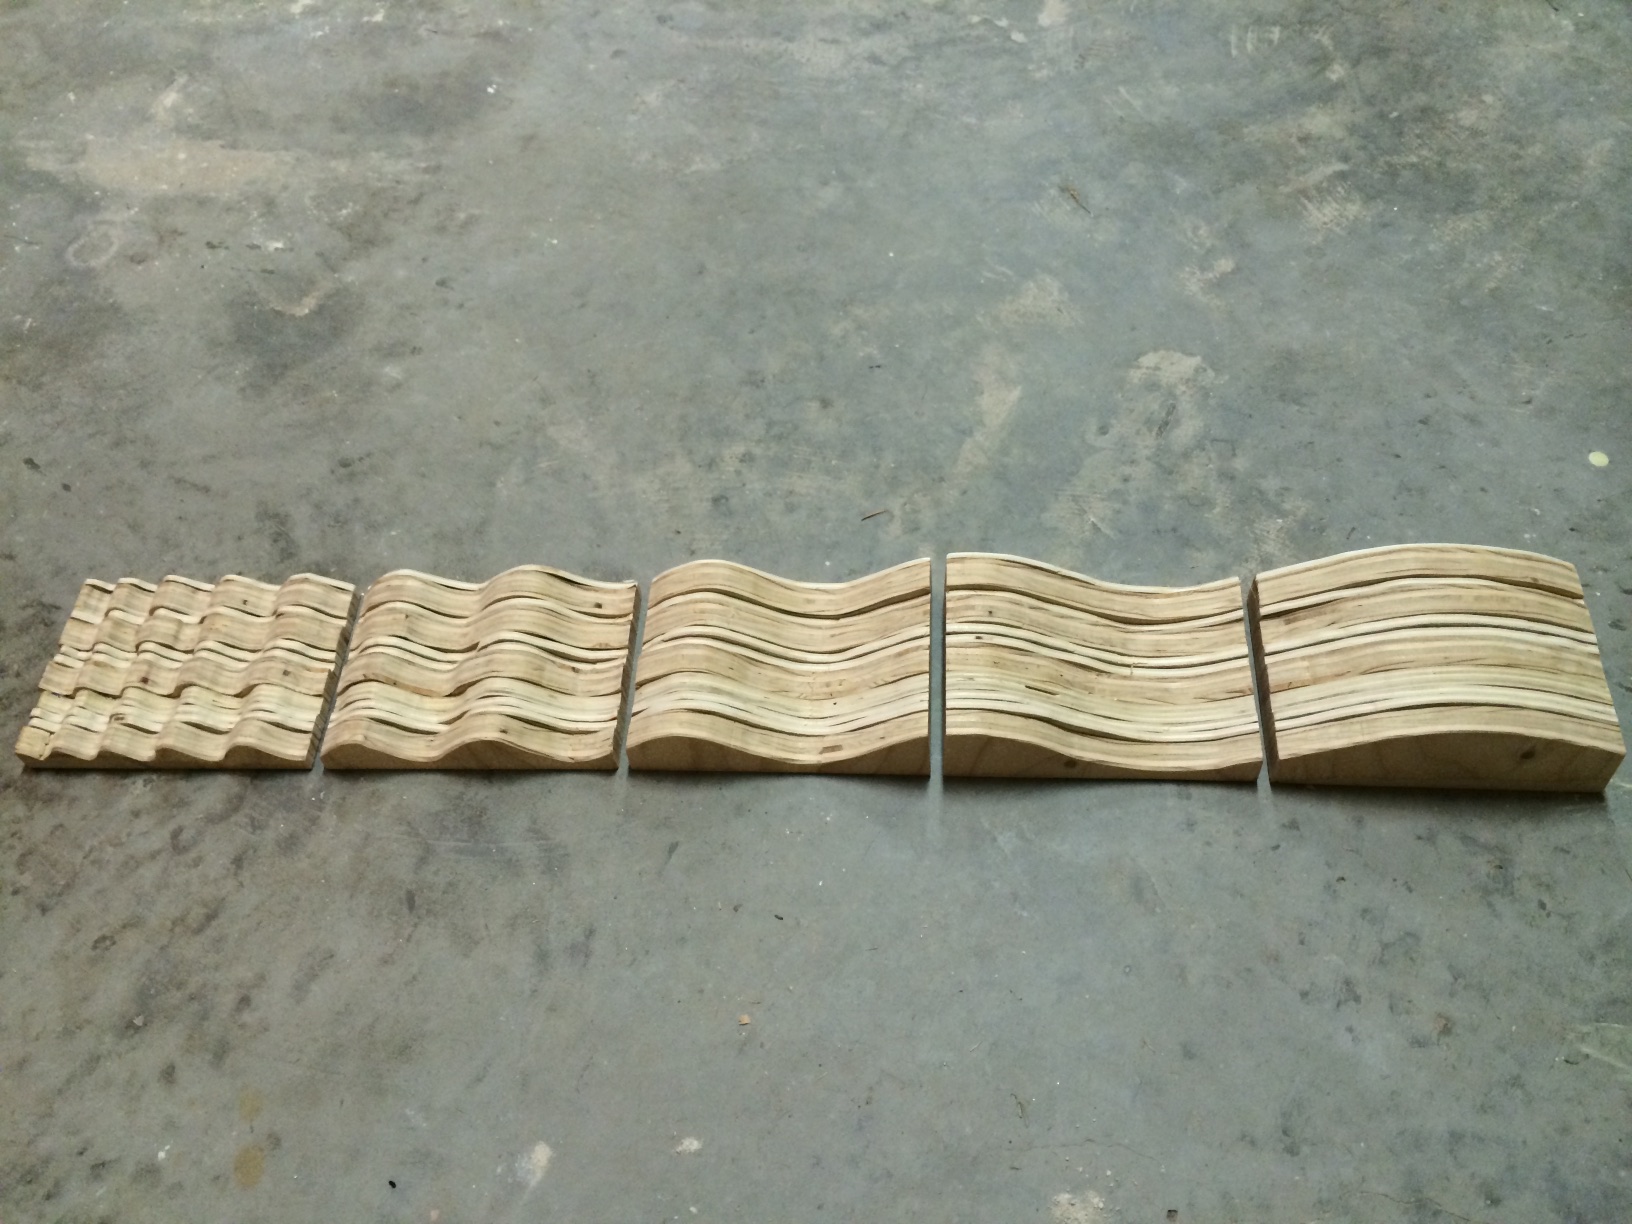
After the strips are glued together, cut them into tiles. We used a table saw to cut a 5-10 degree draft angle on all four sides of each tile for good mold release.
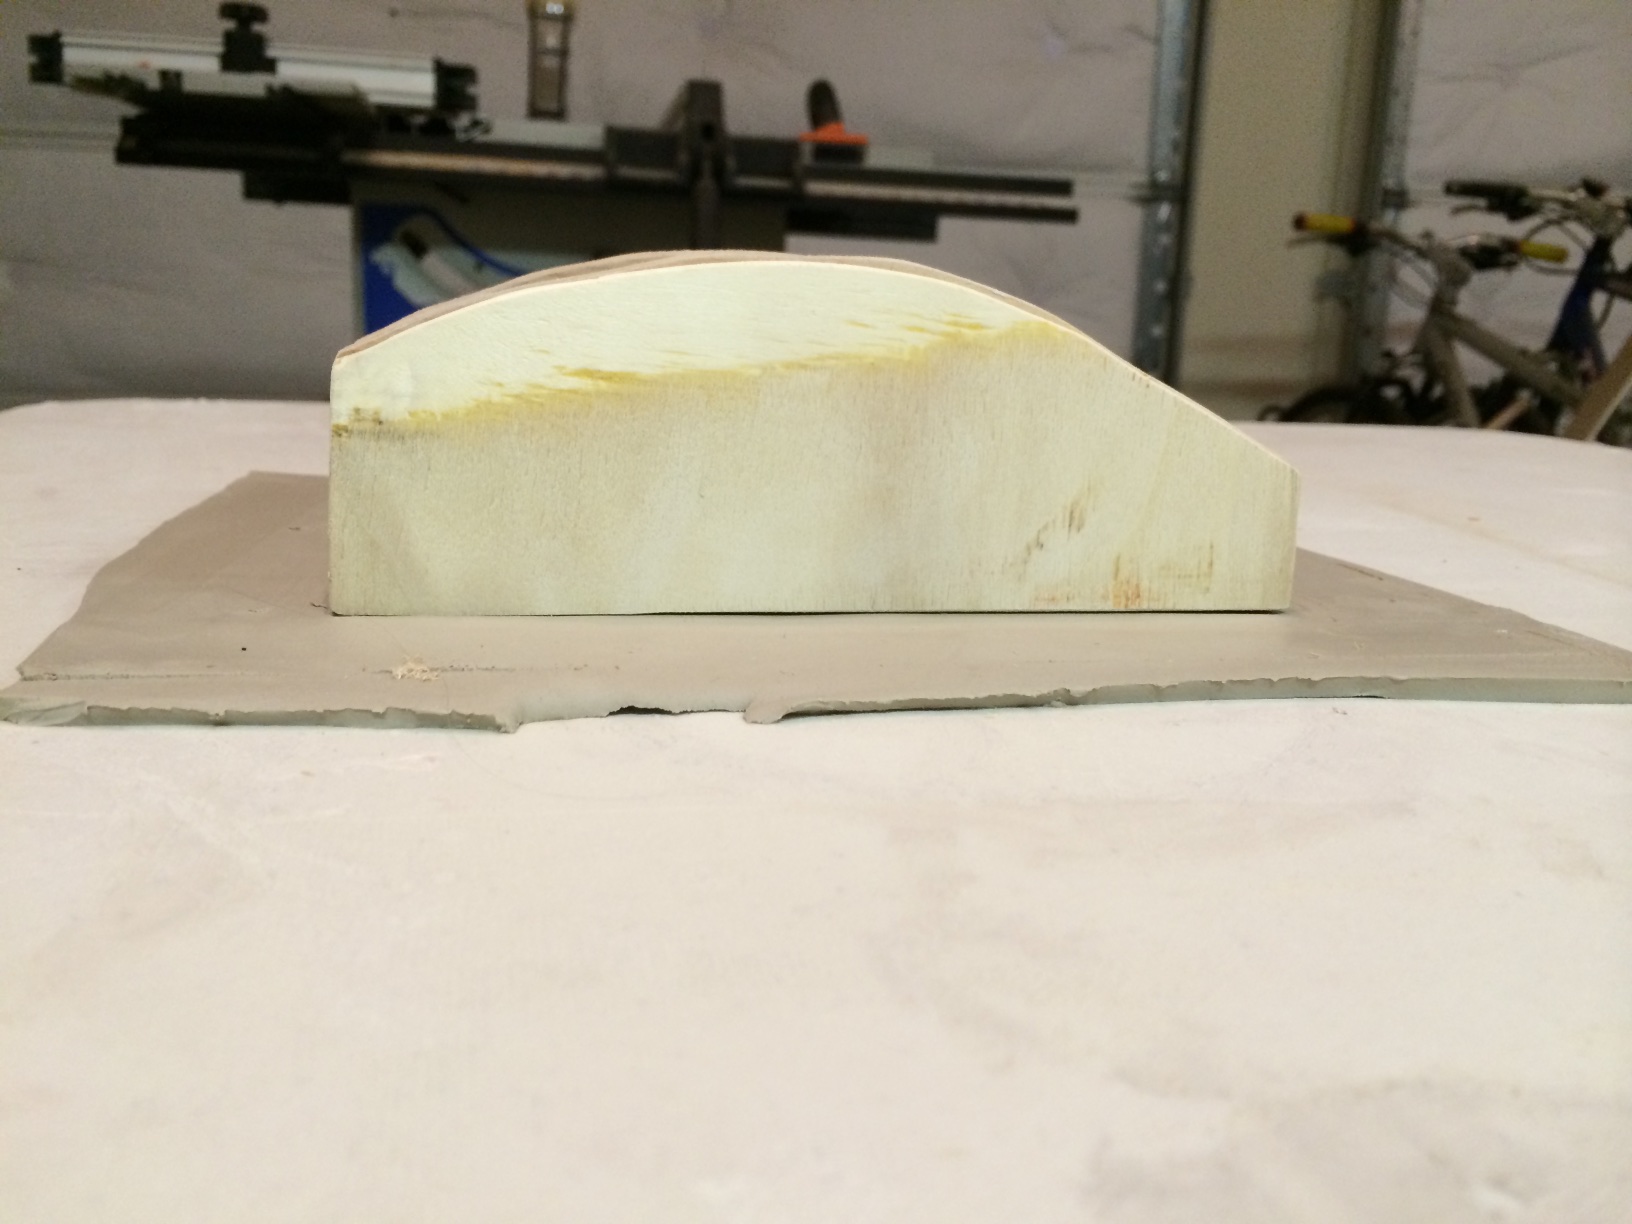
Getting ready for pouring the plaster with a layer of clay below the positive.
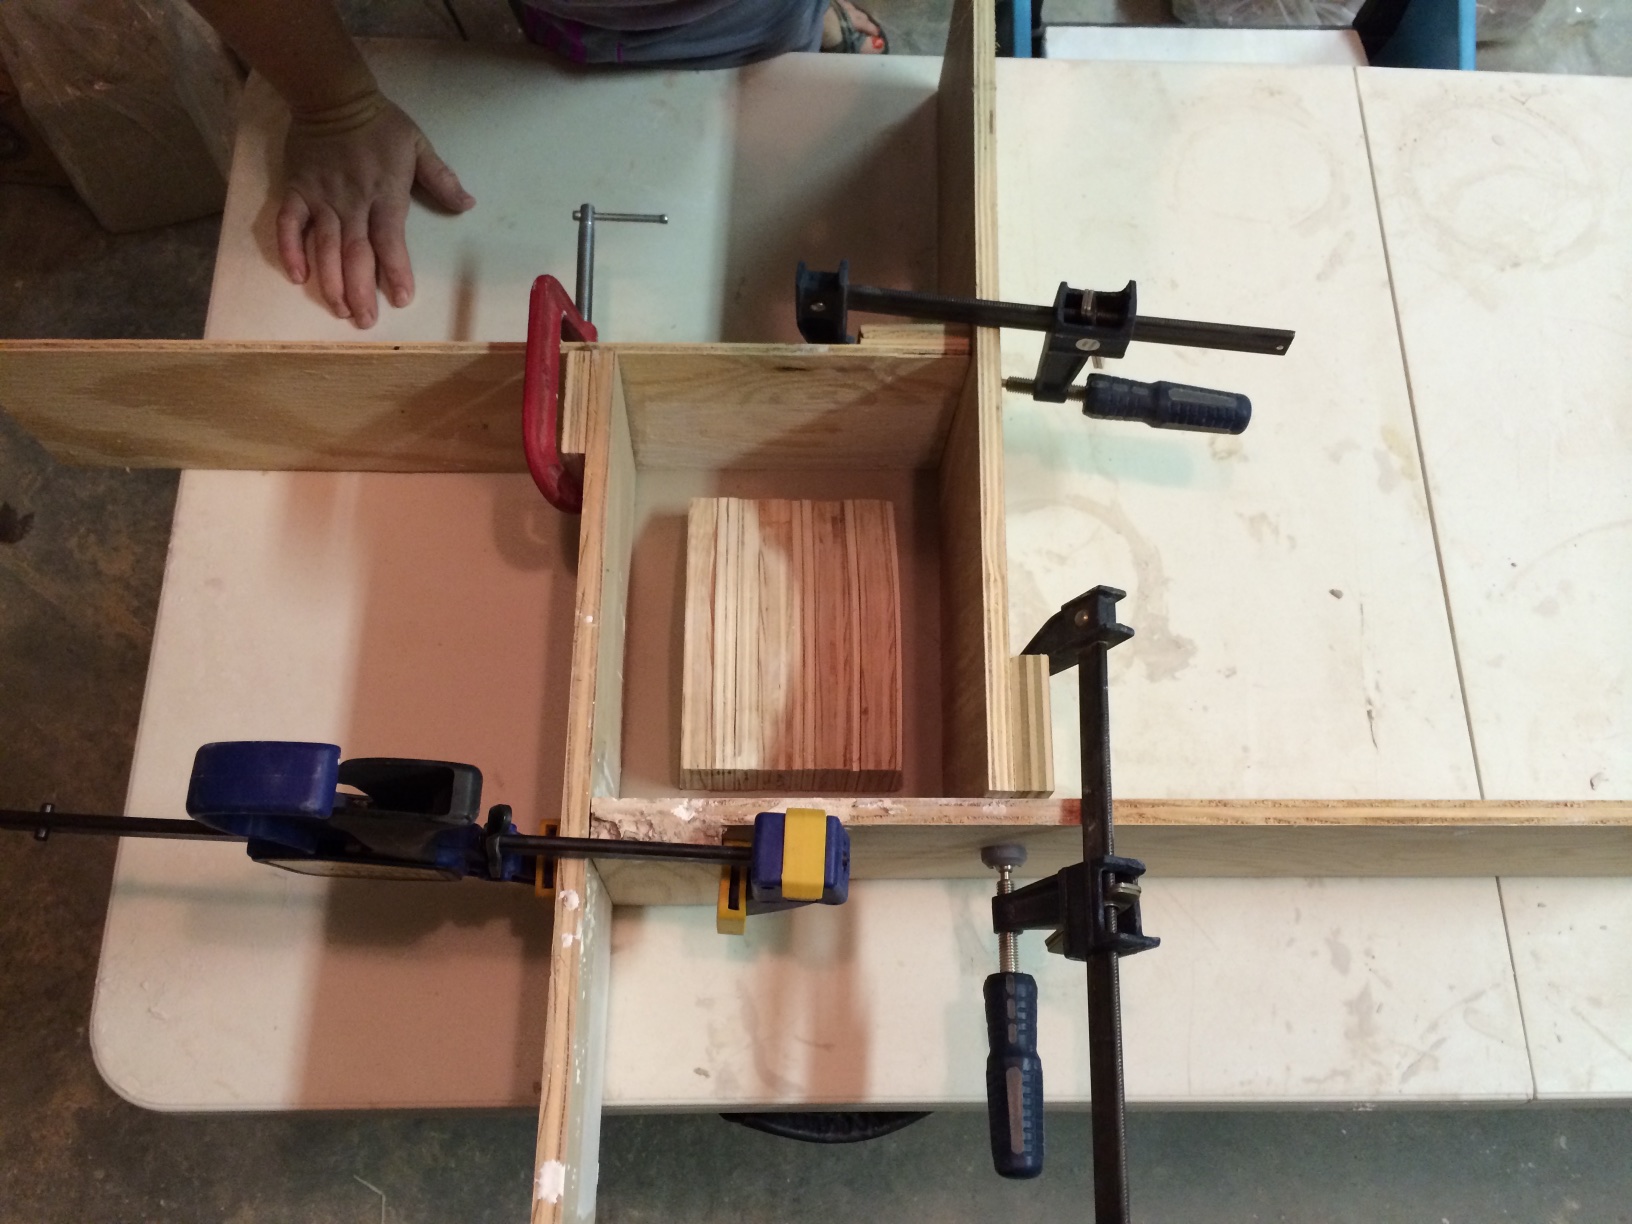
Clamping the cottle boards.
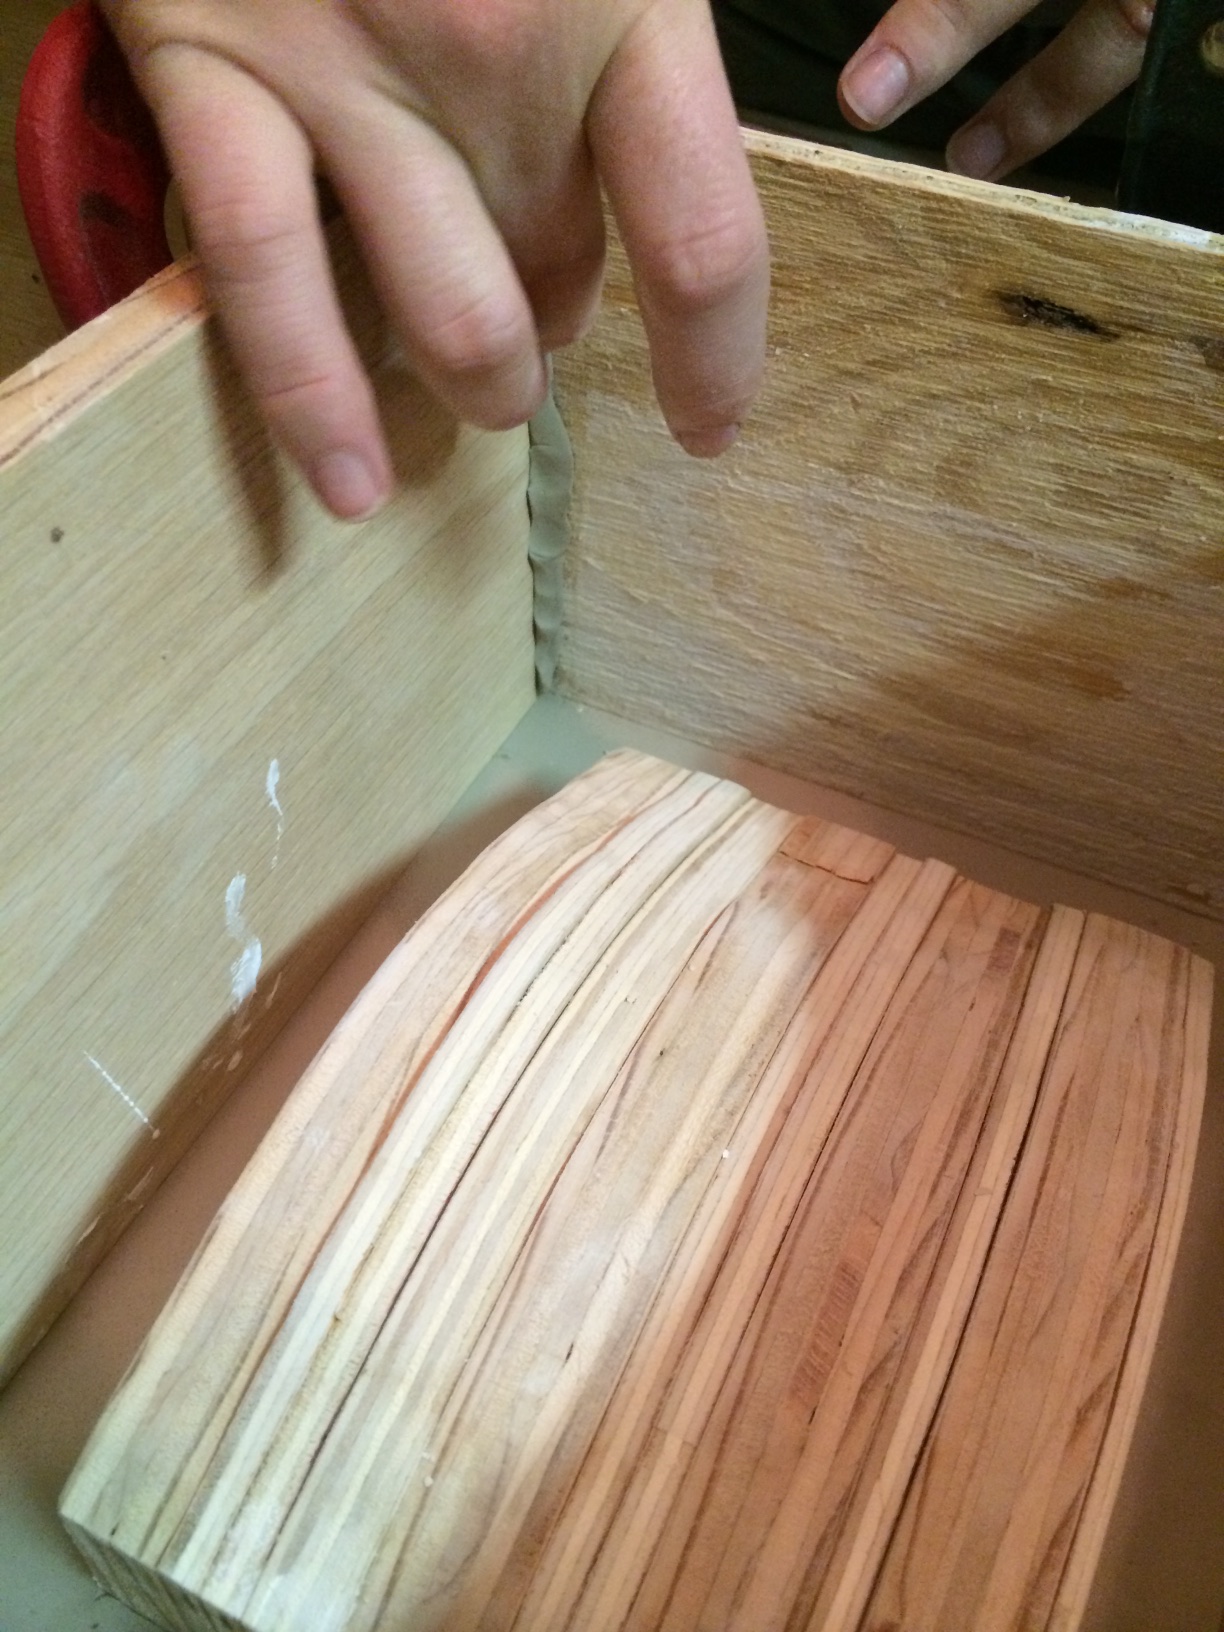
Sealing the joints in the cottle boards.
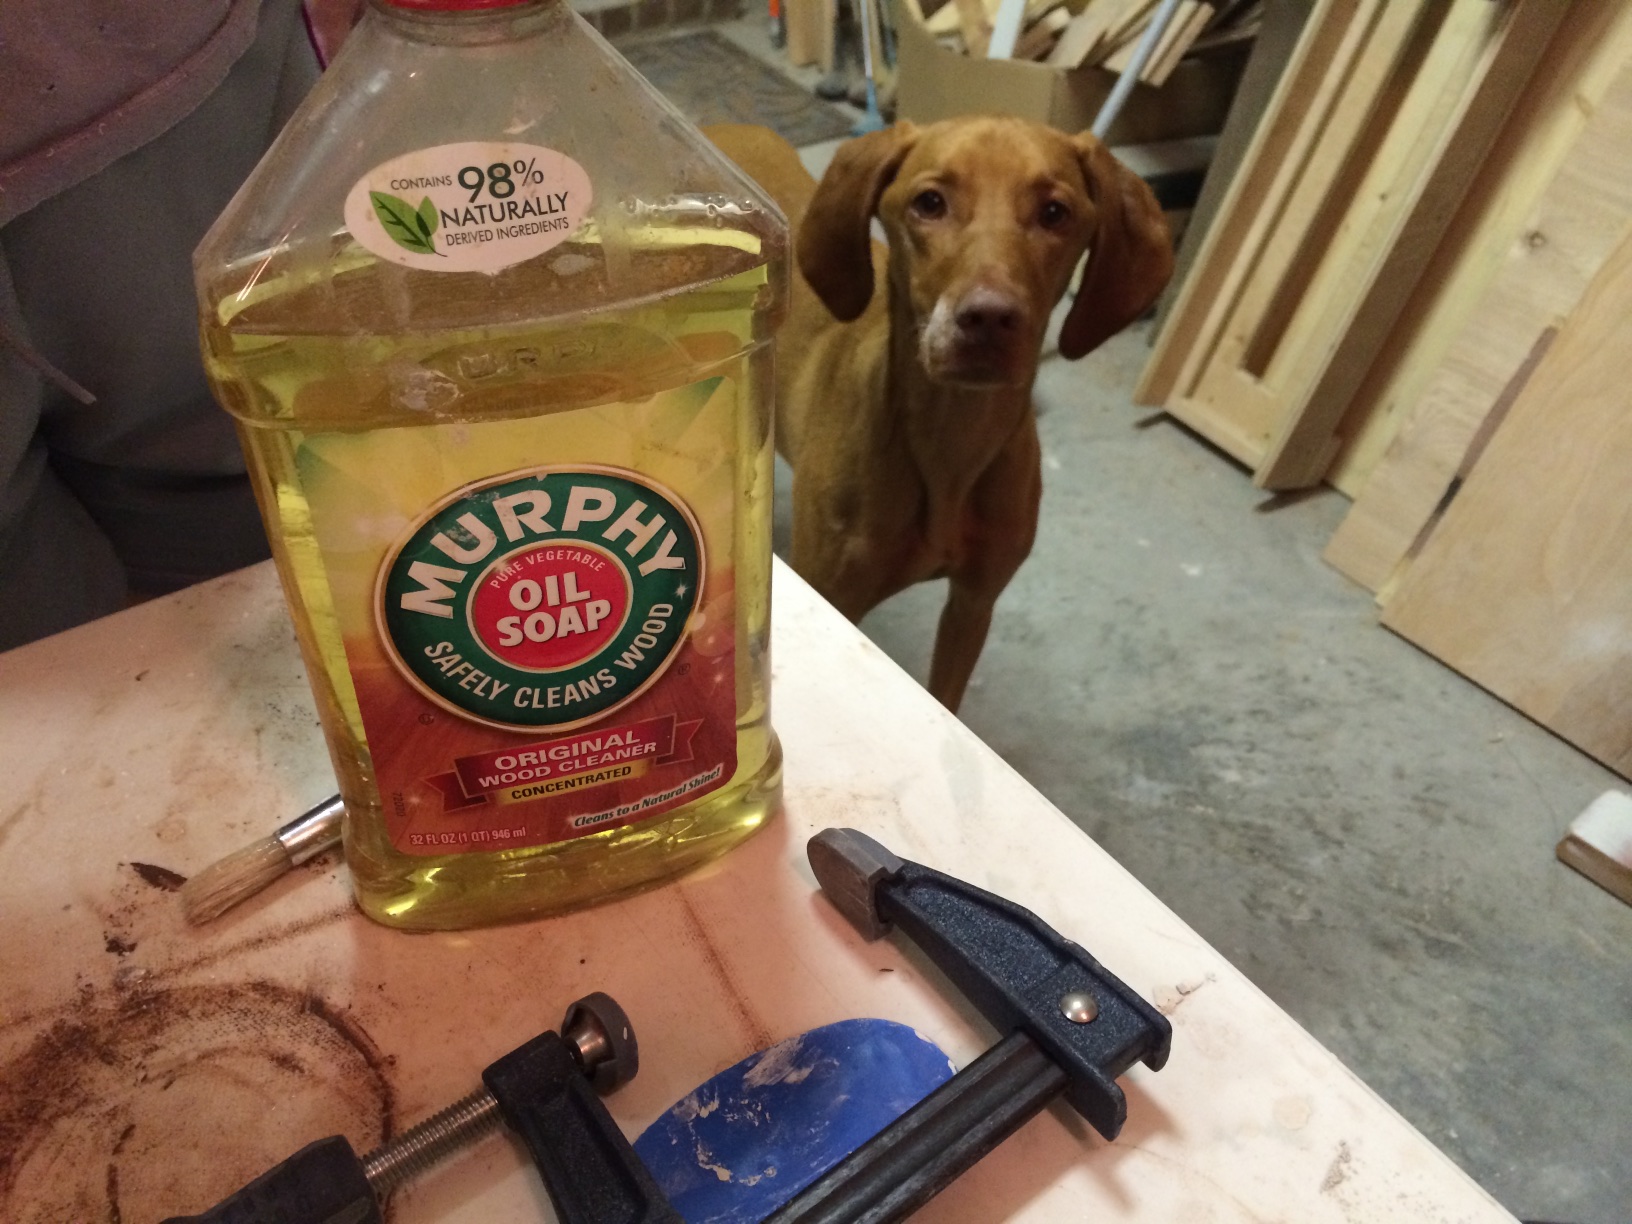
Murphy's Oil soap to help release the wooden positives later. A coat of polyurethane was also added before the soap.
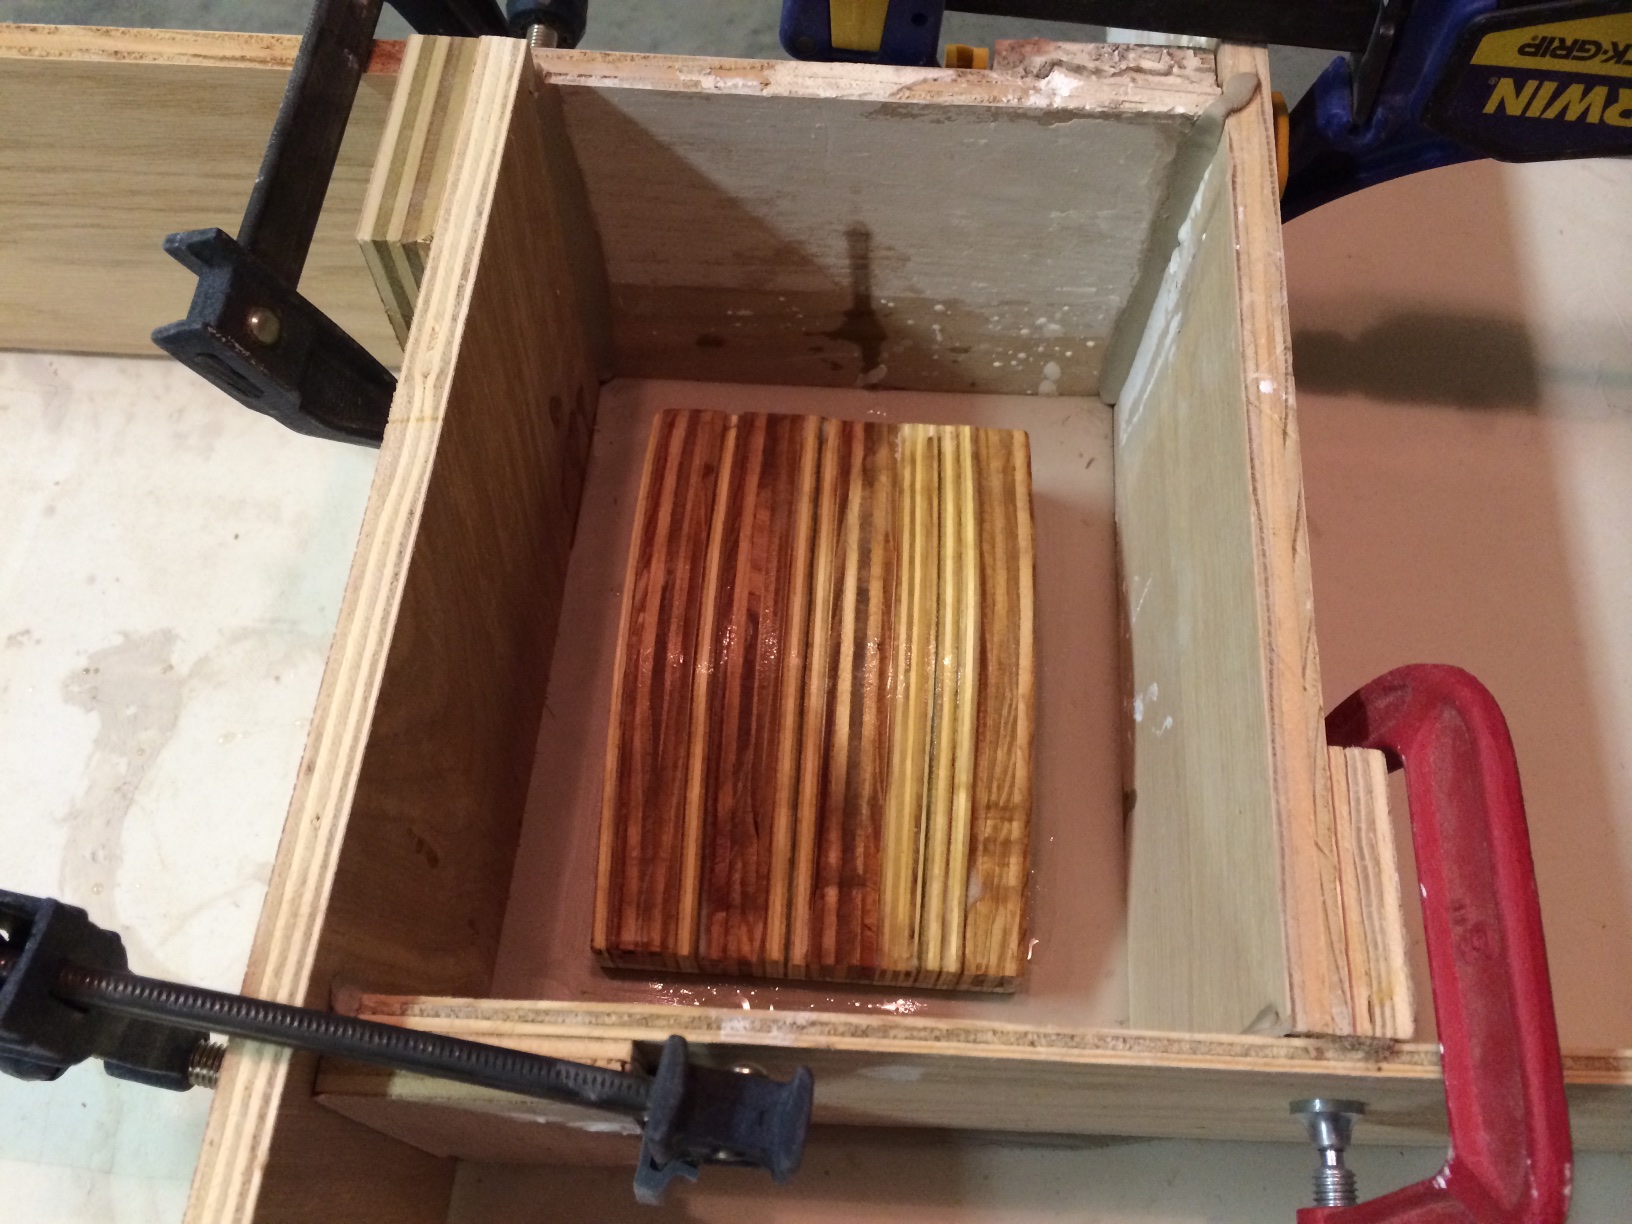
Ready for casting.
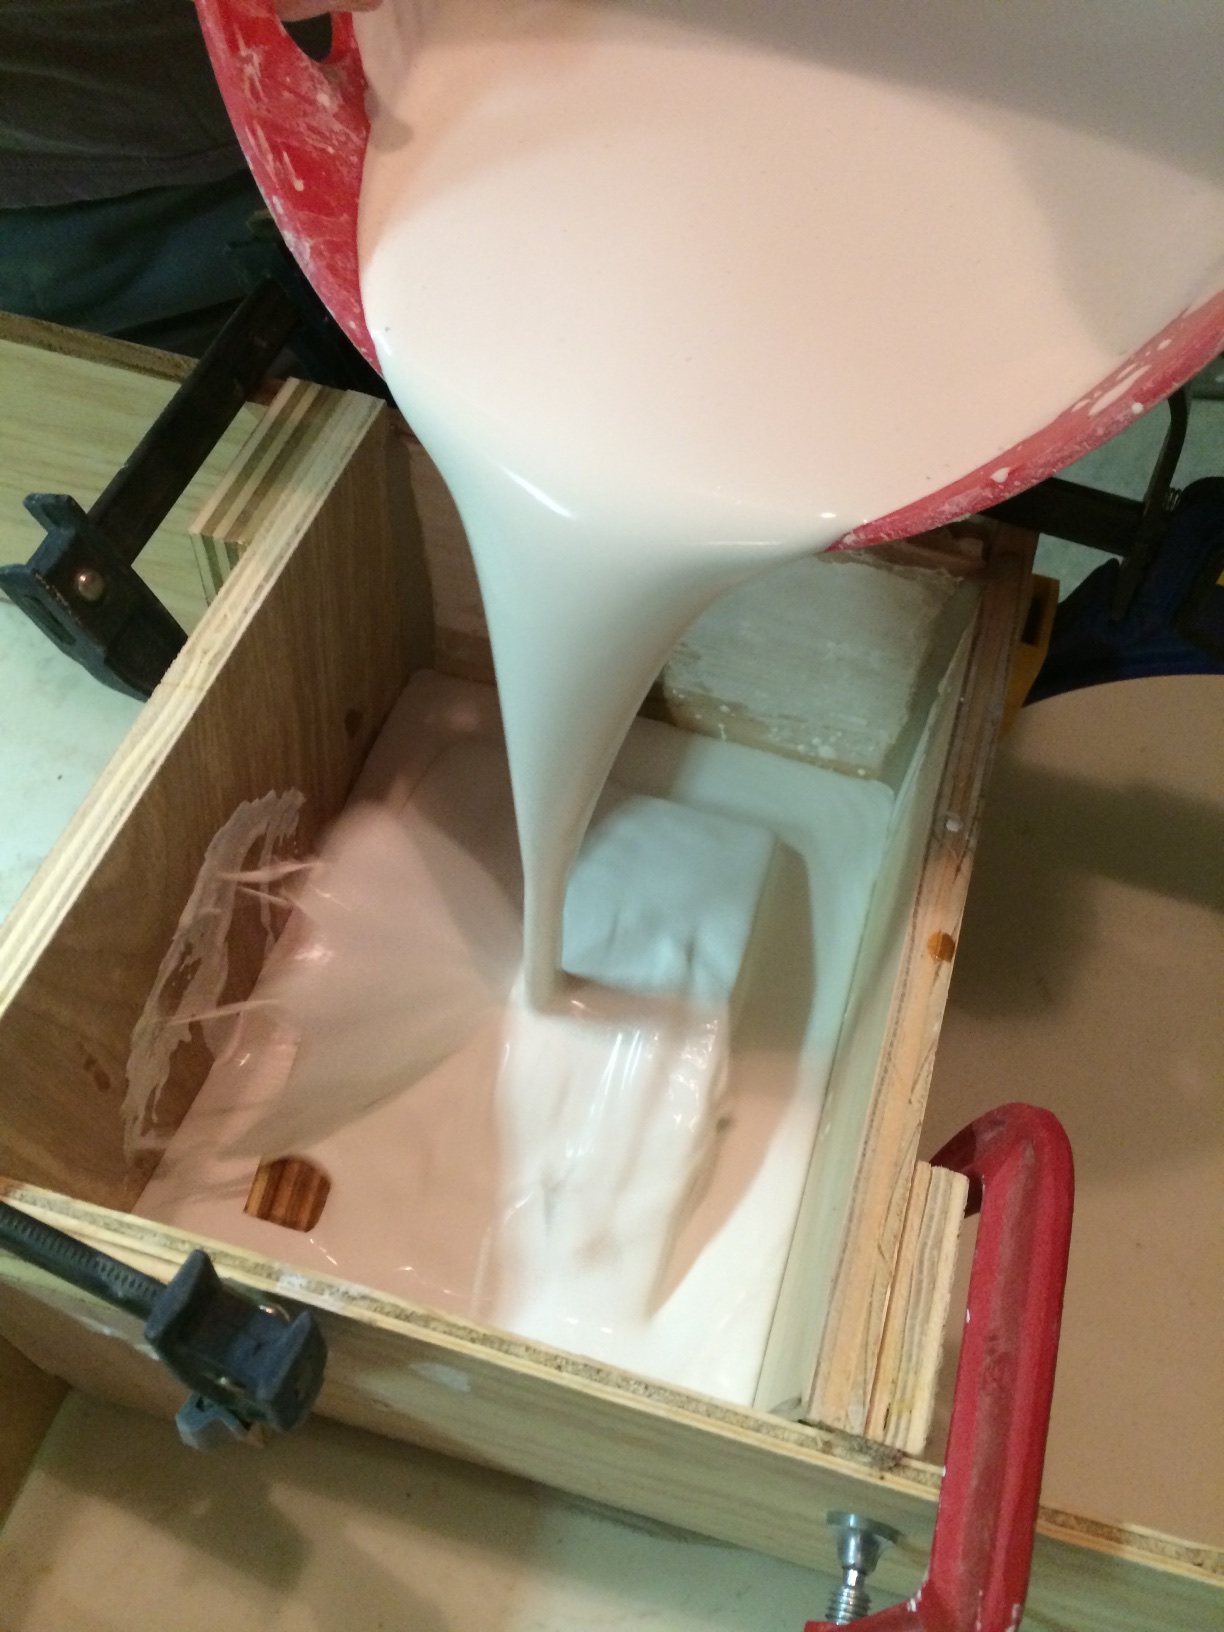
Pouring plaster.
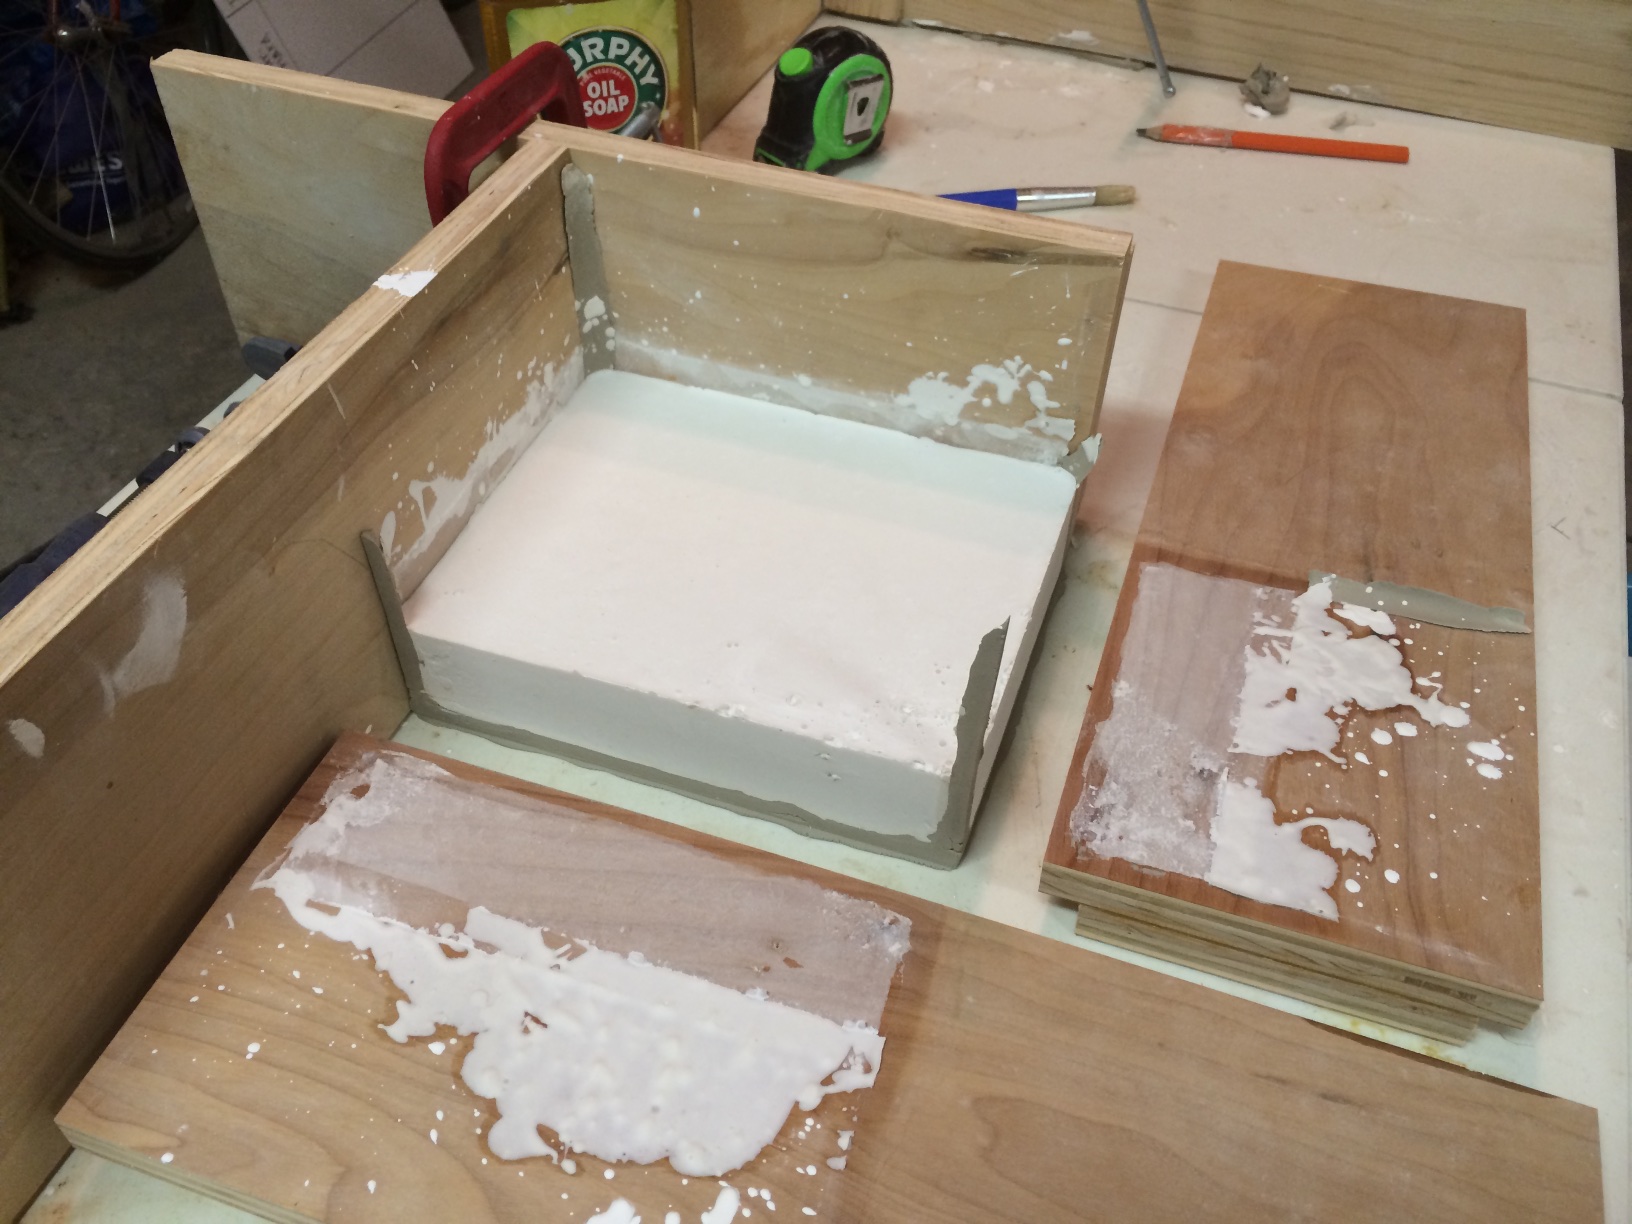
Removing the cottle boards after the plaster cured.
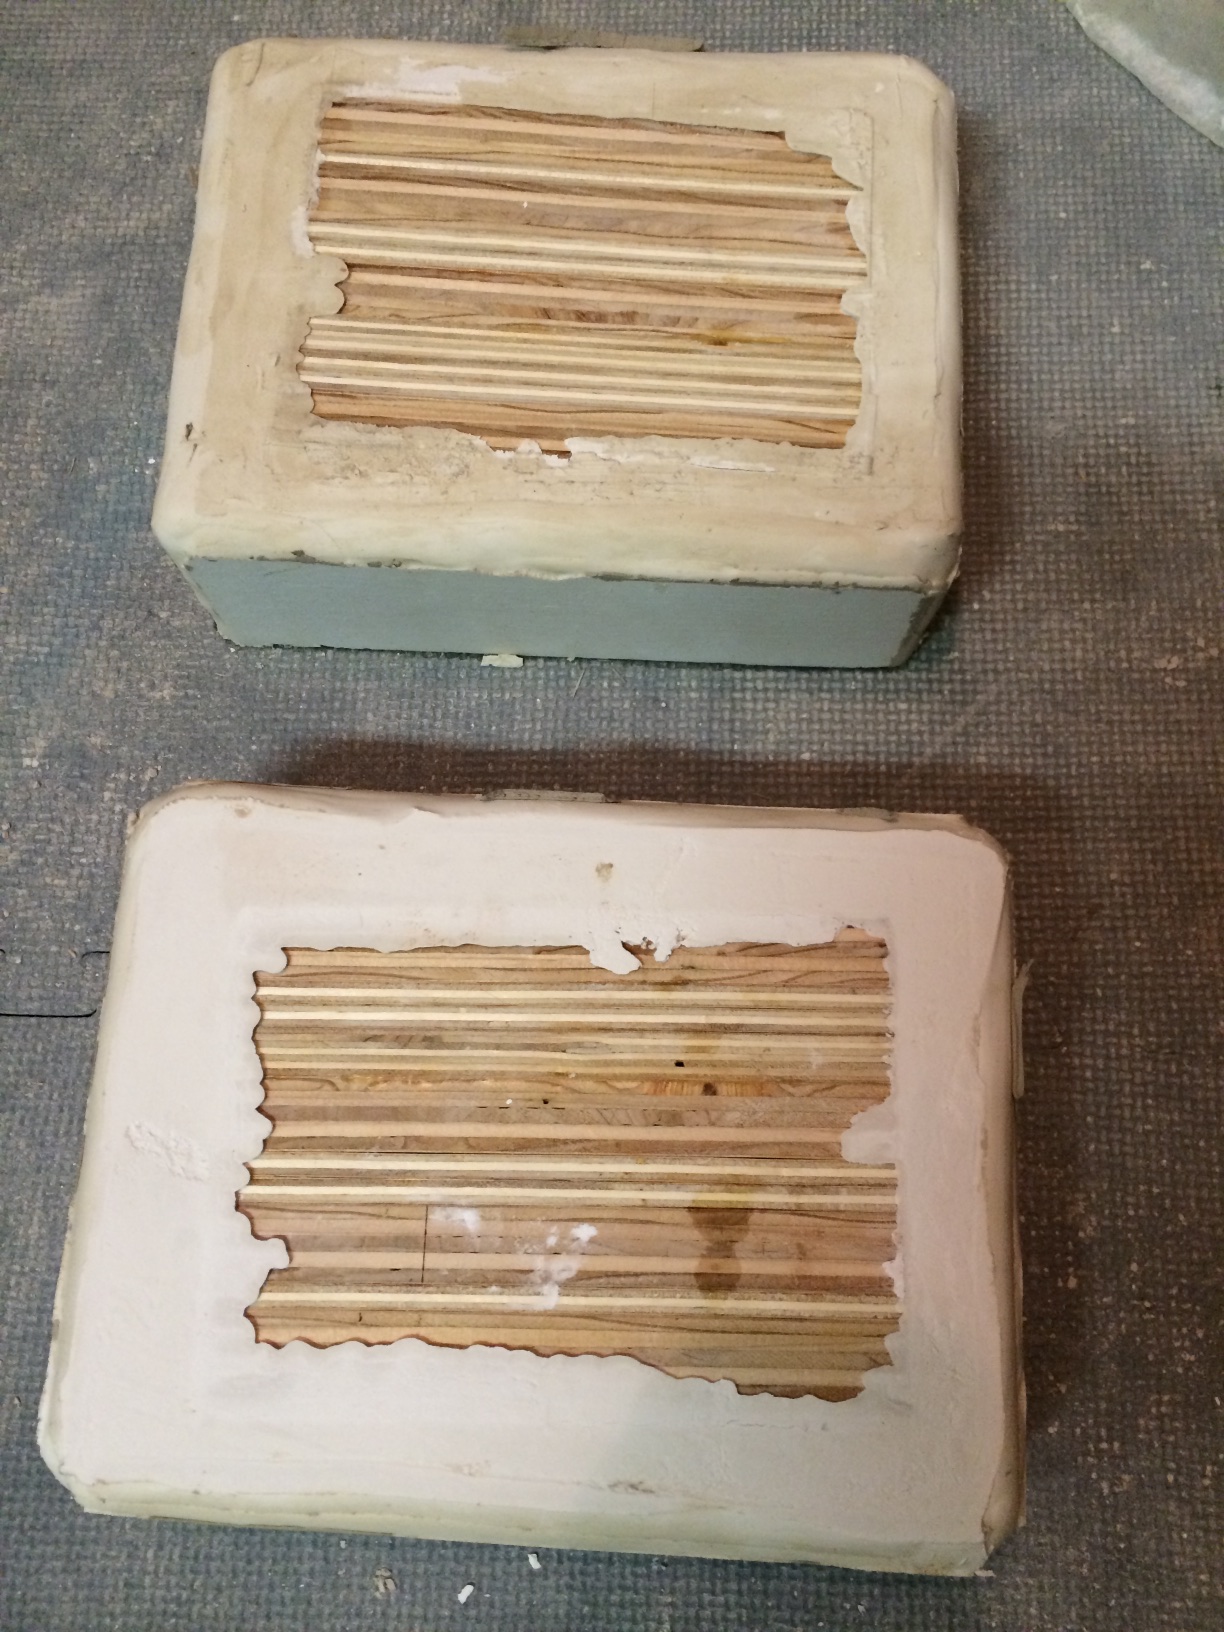
Two molds with the wooden positives still in them. Turns out it was not easy to get the positives out...
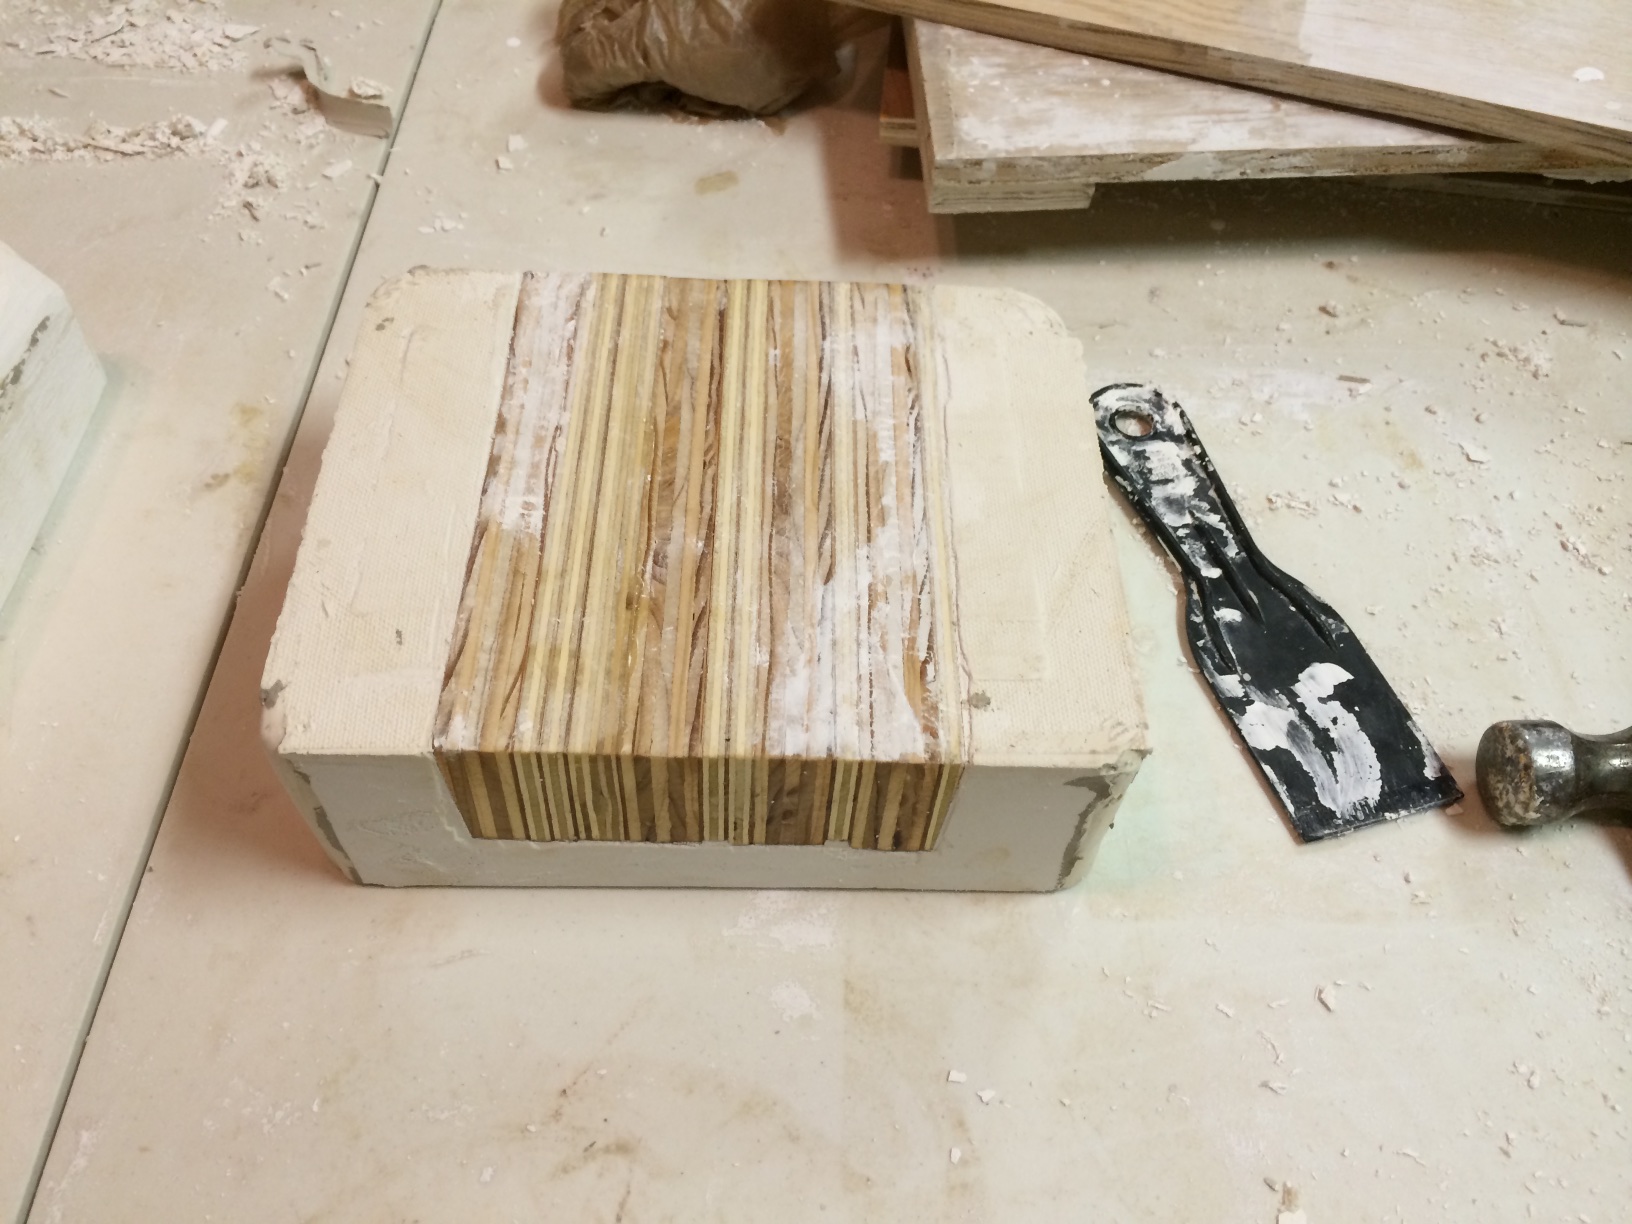
Even with angled positives and oil soap, we couldn't get the wooden tiles out of the plaster, so we started over and cast the plaster so that two ends of the wood positives were exposed.
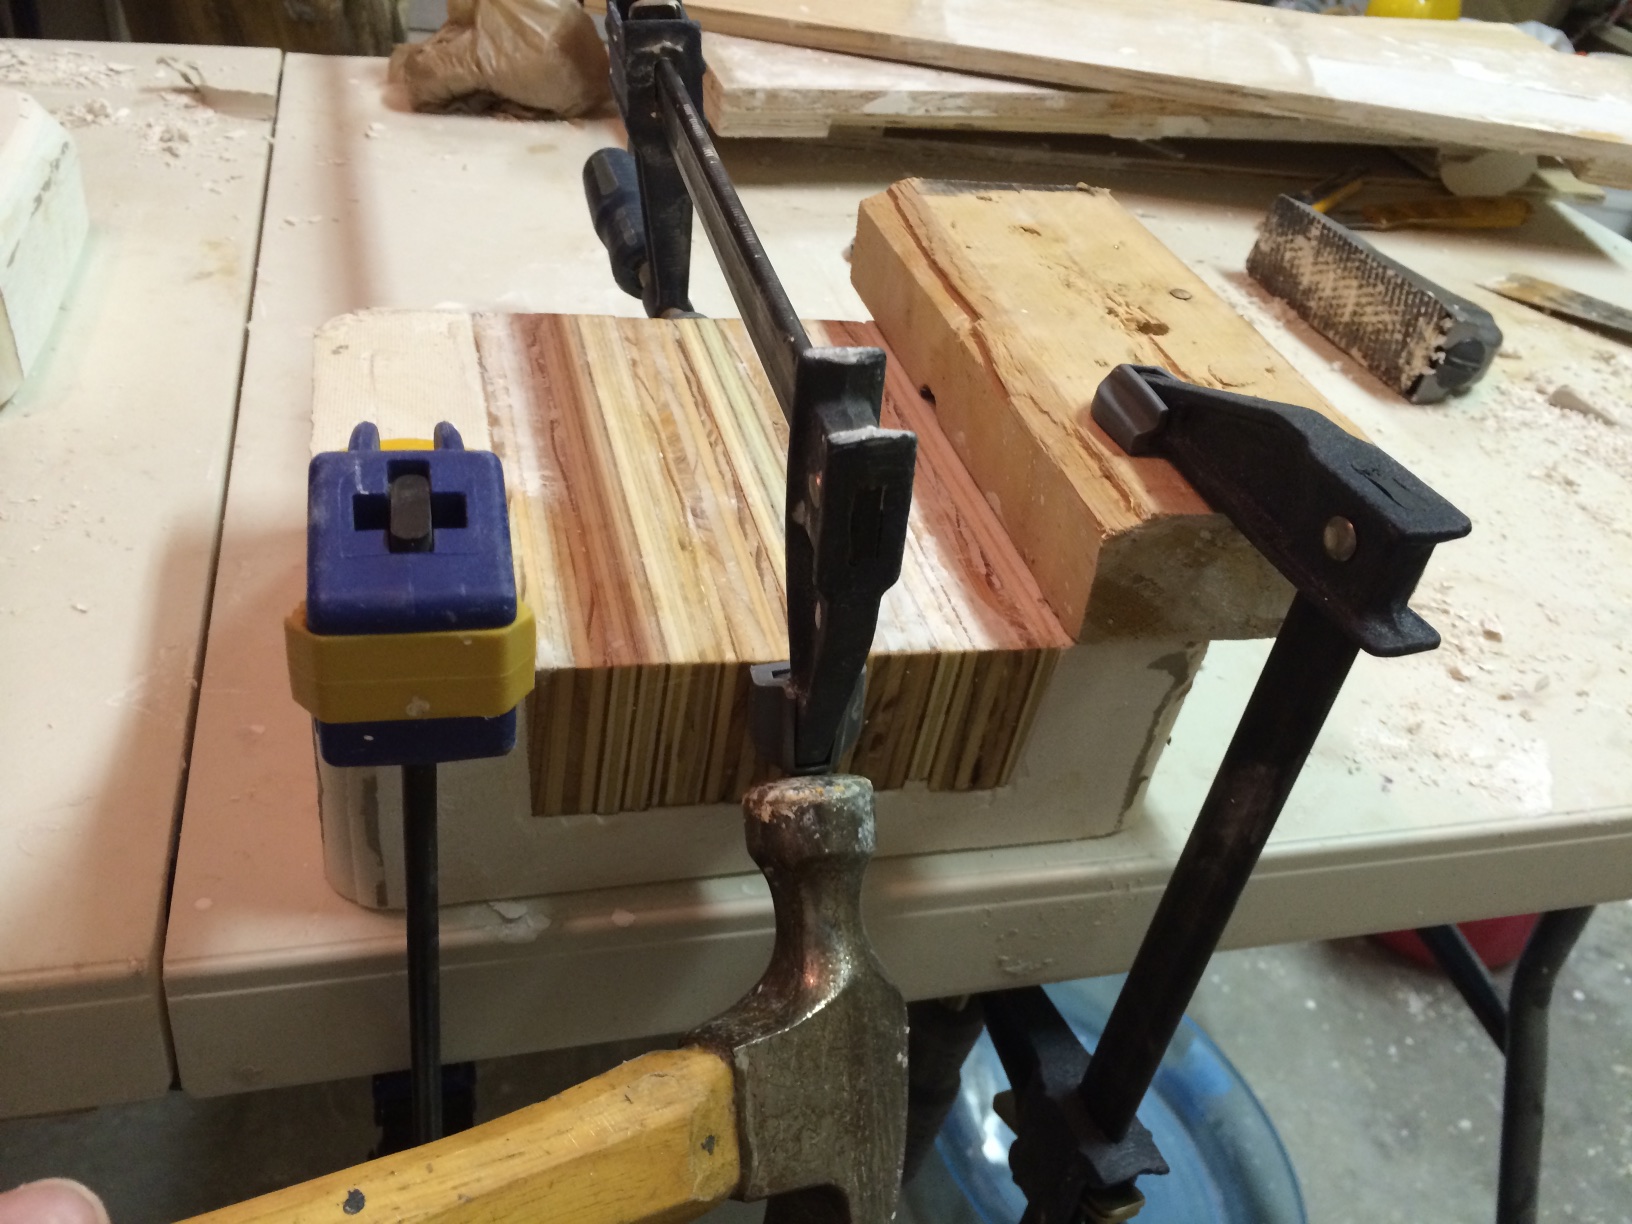
Removing the wooden positive.
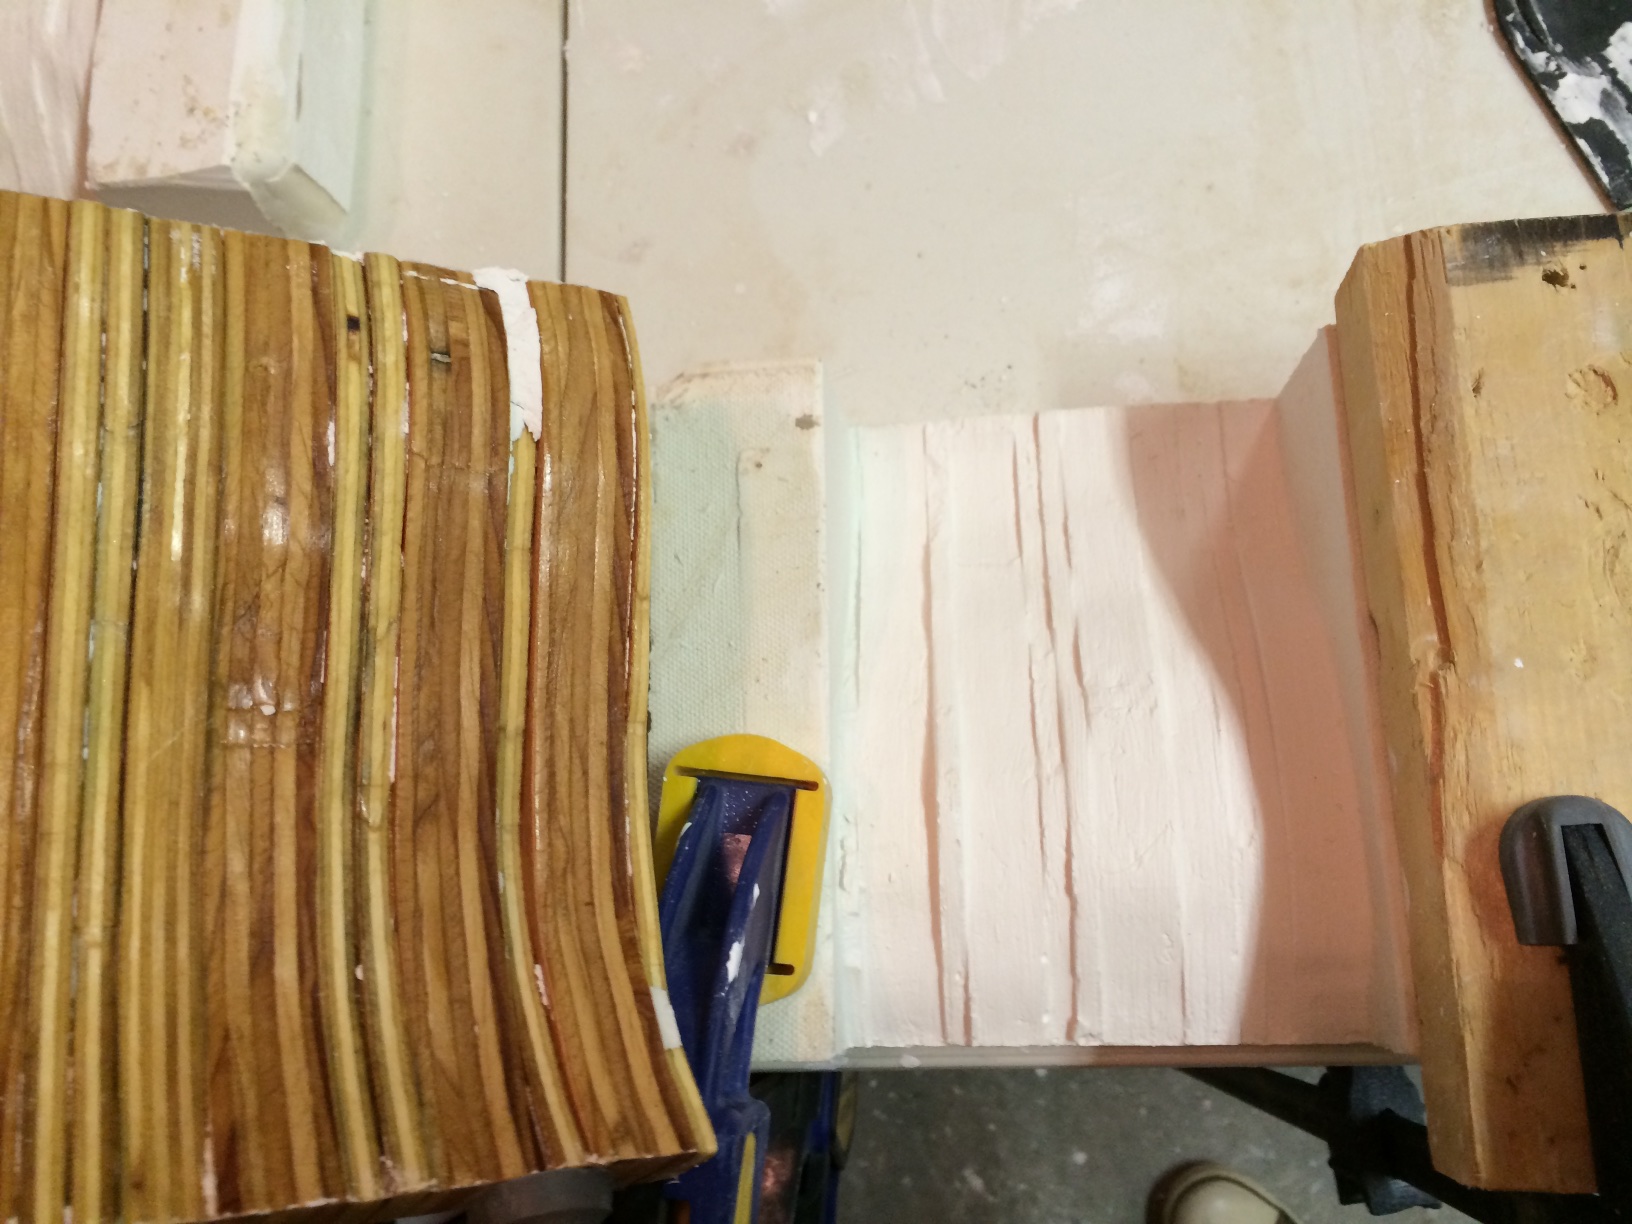
Our staggered wood strips were difficult to remove because plaster was getting in the spaces between strips.
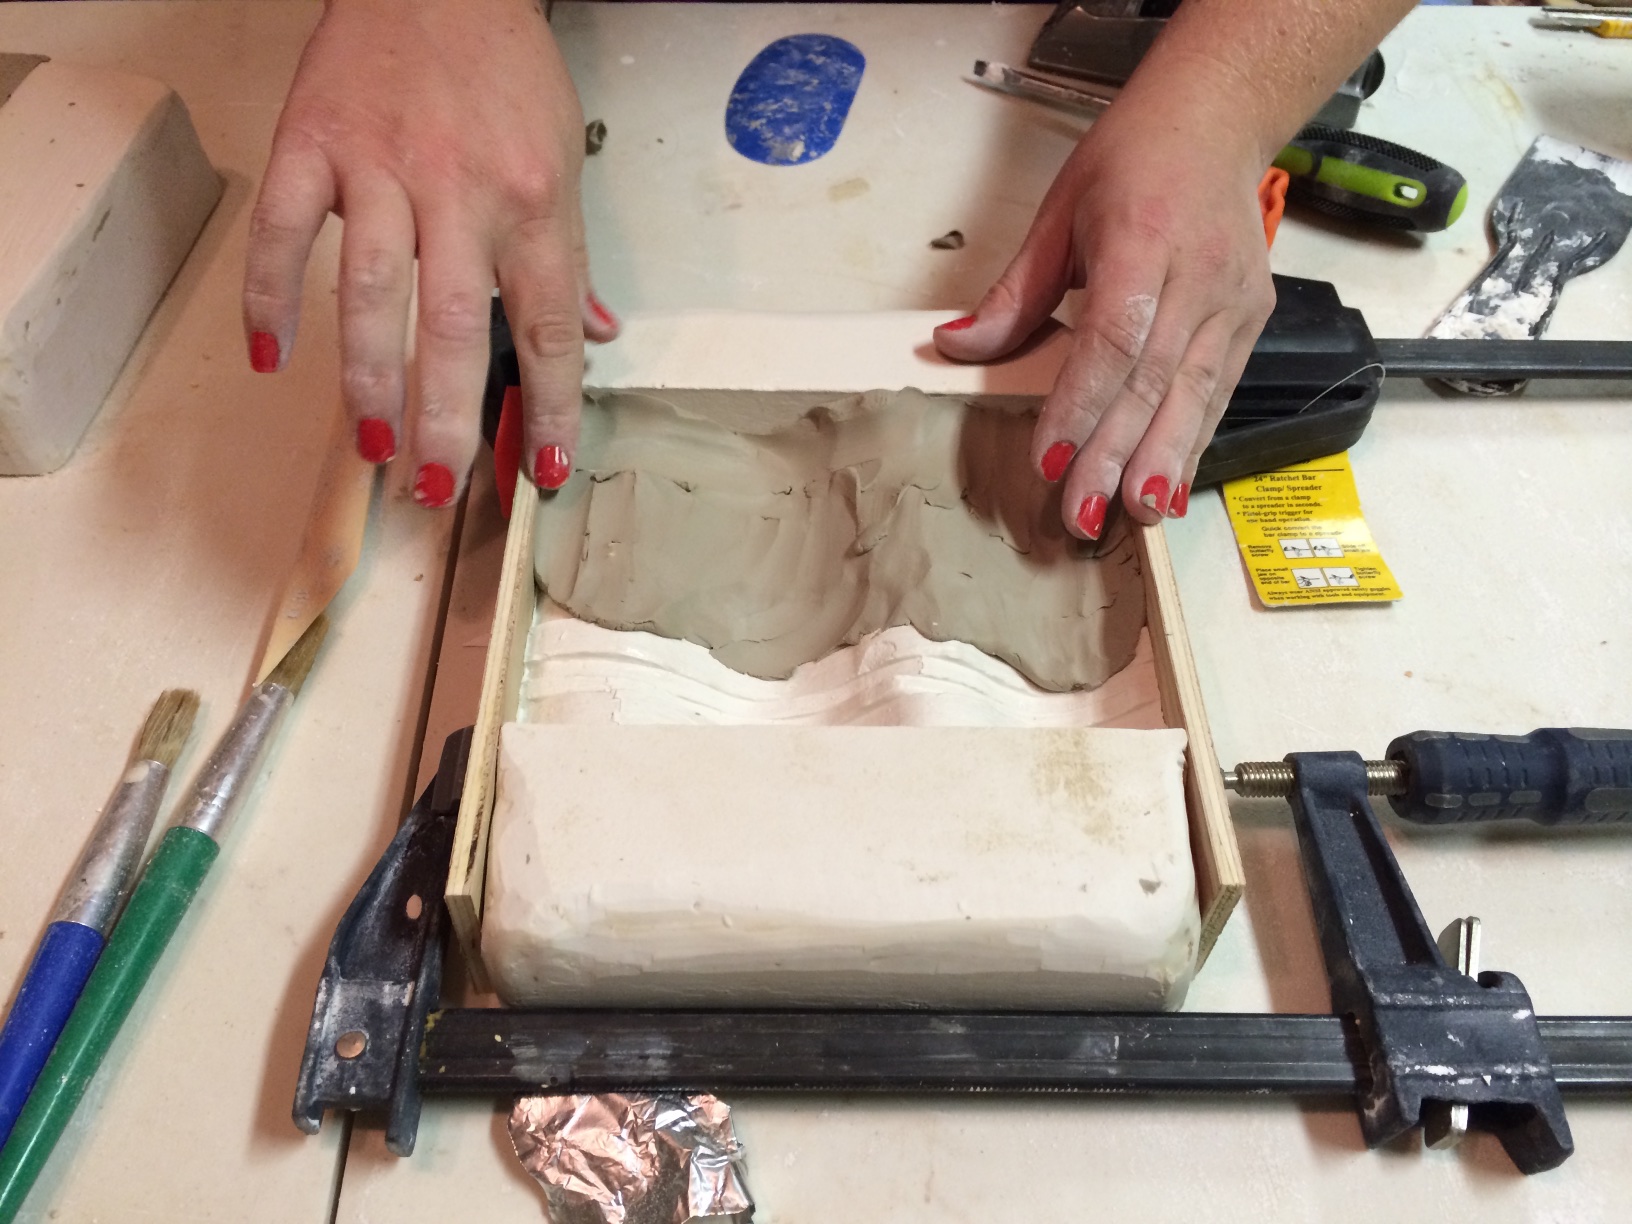
The modified mold required wood sides to be clamped on, completing the negative shape. Here, clay is being pressed in to the mold.
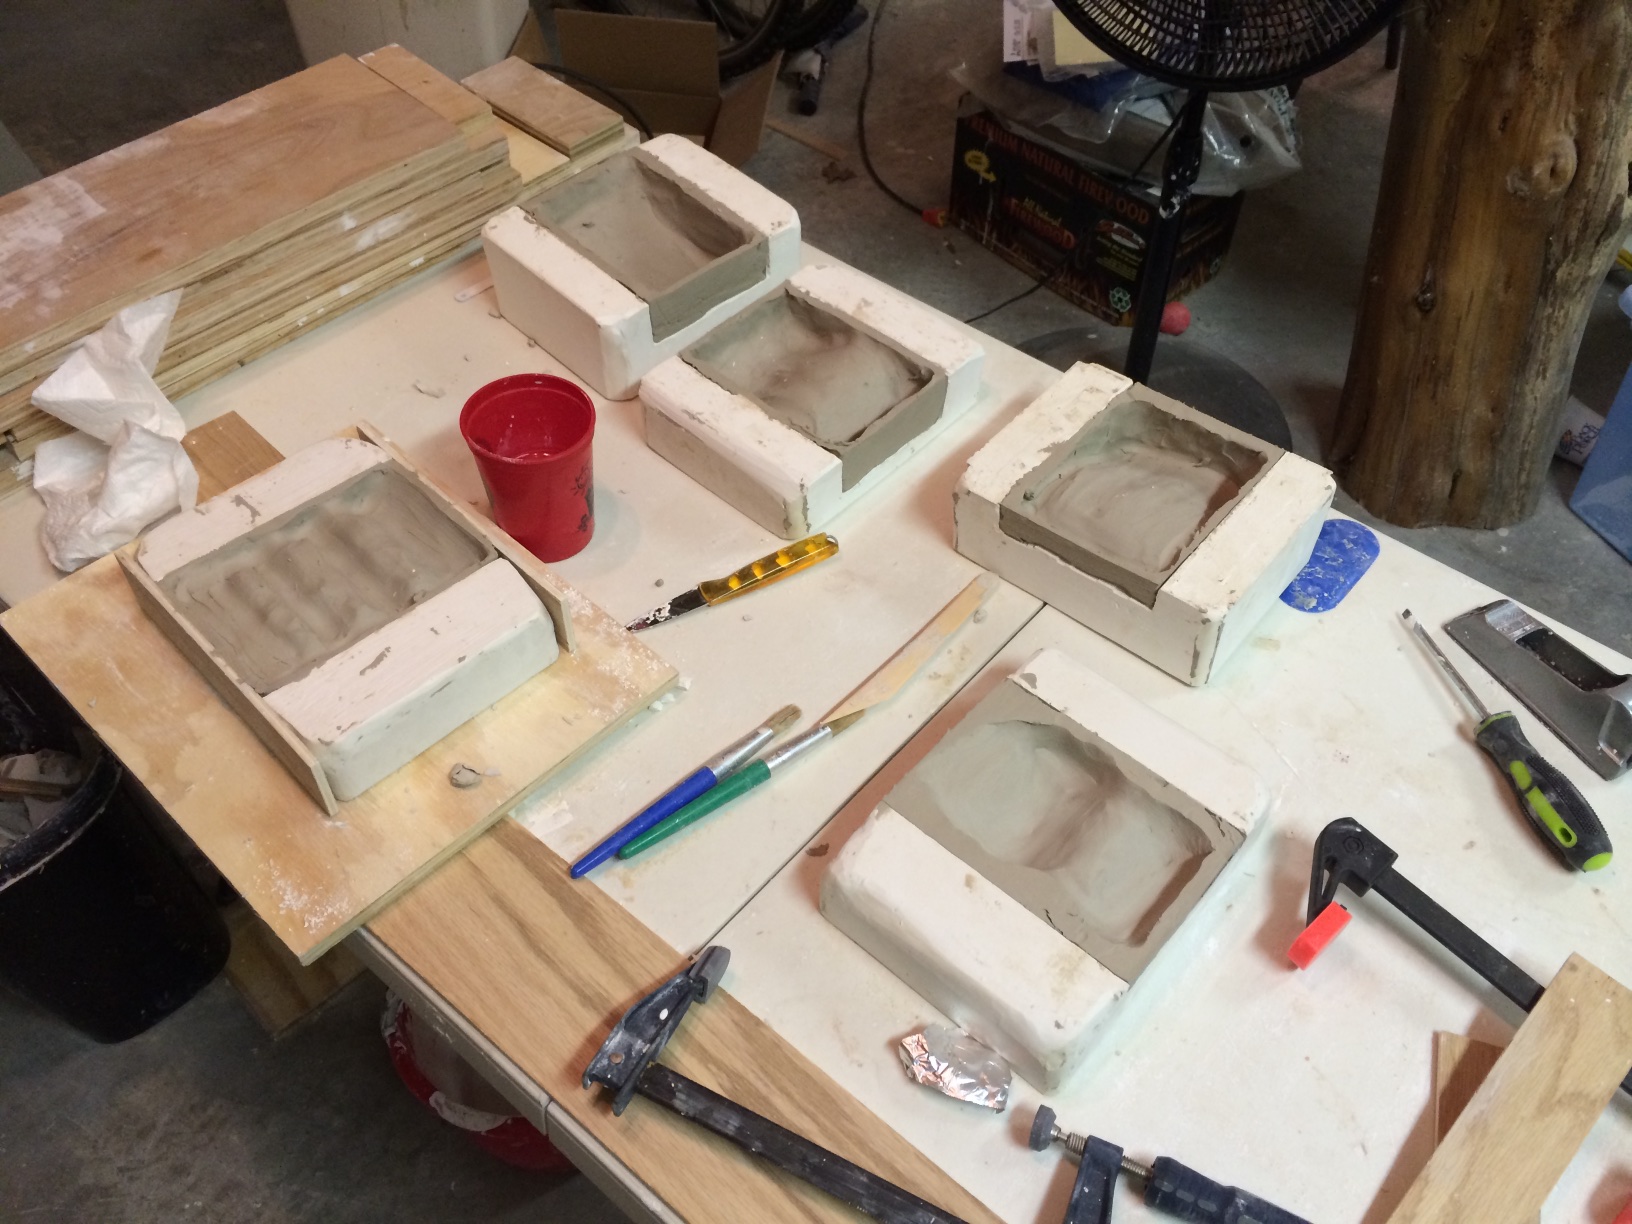
Several molds filled, waiting for the clay to dry a bit.
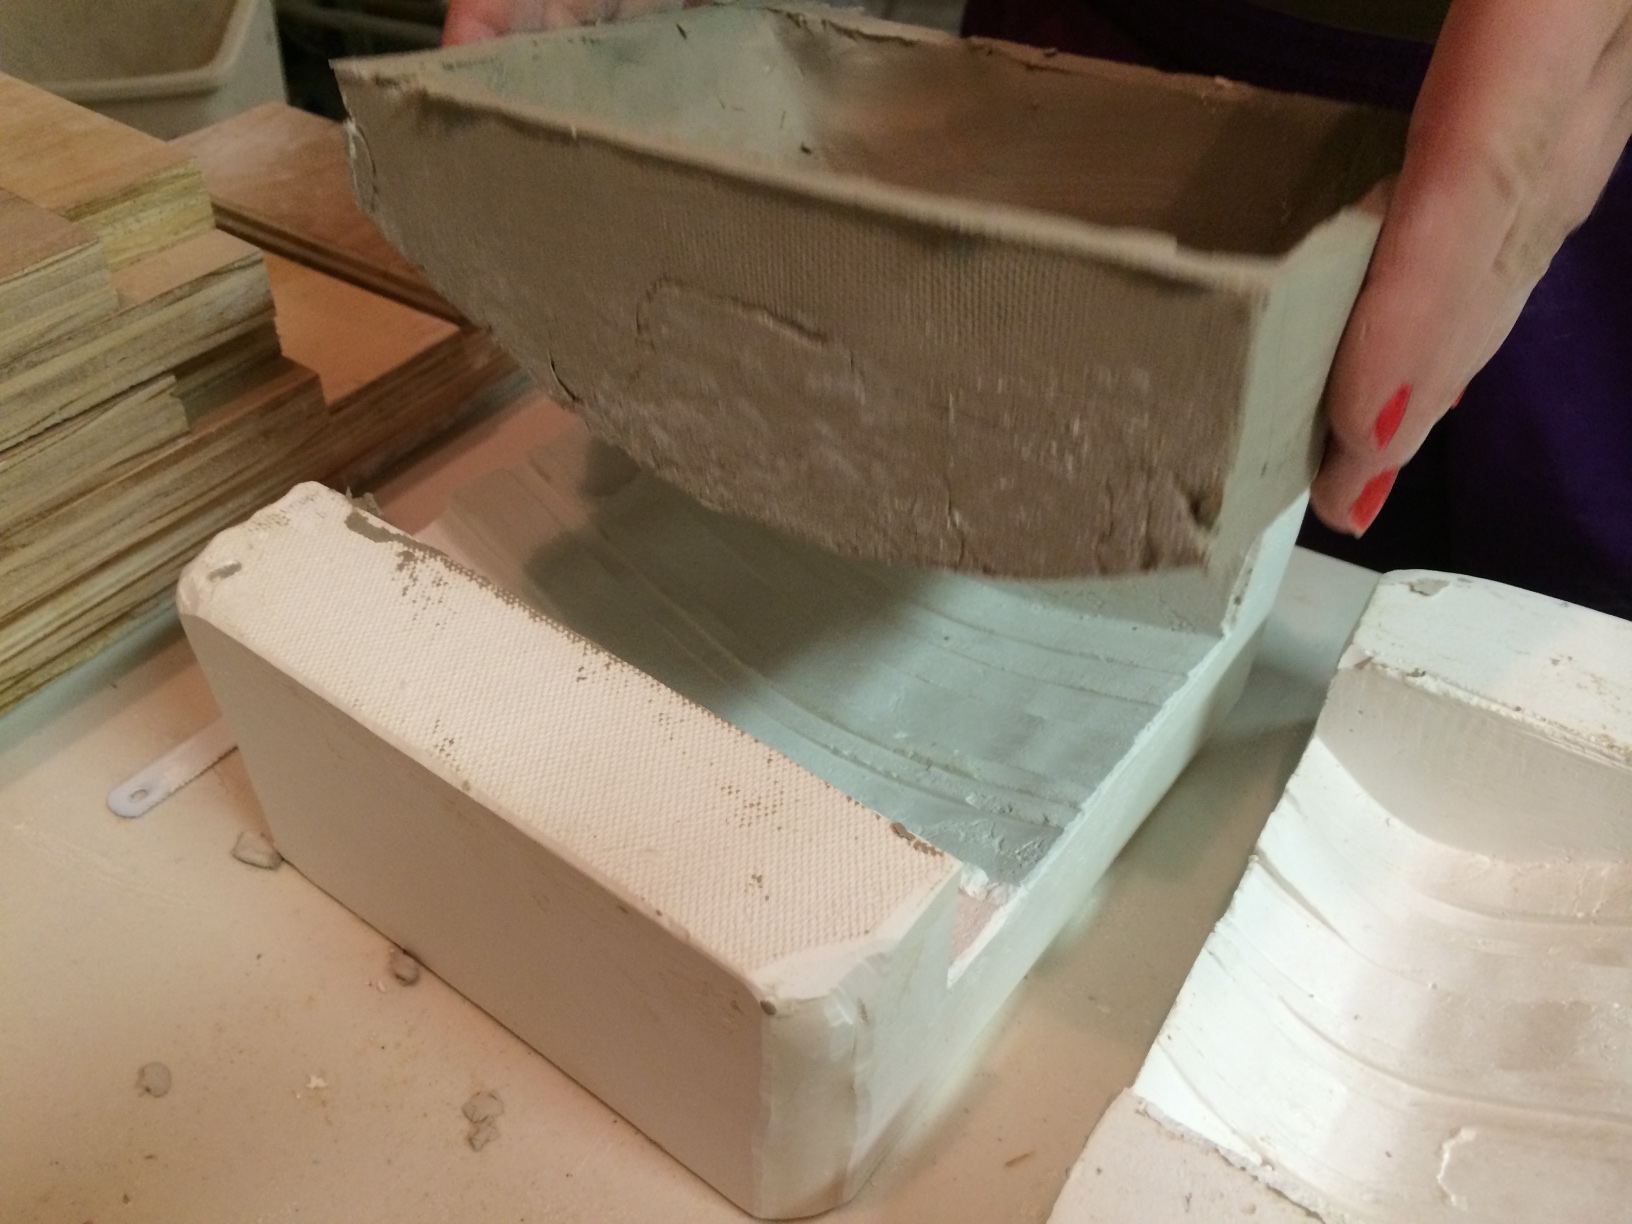
Removing a tile from the plaster mold.
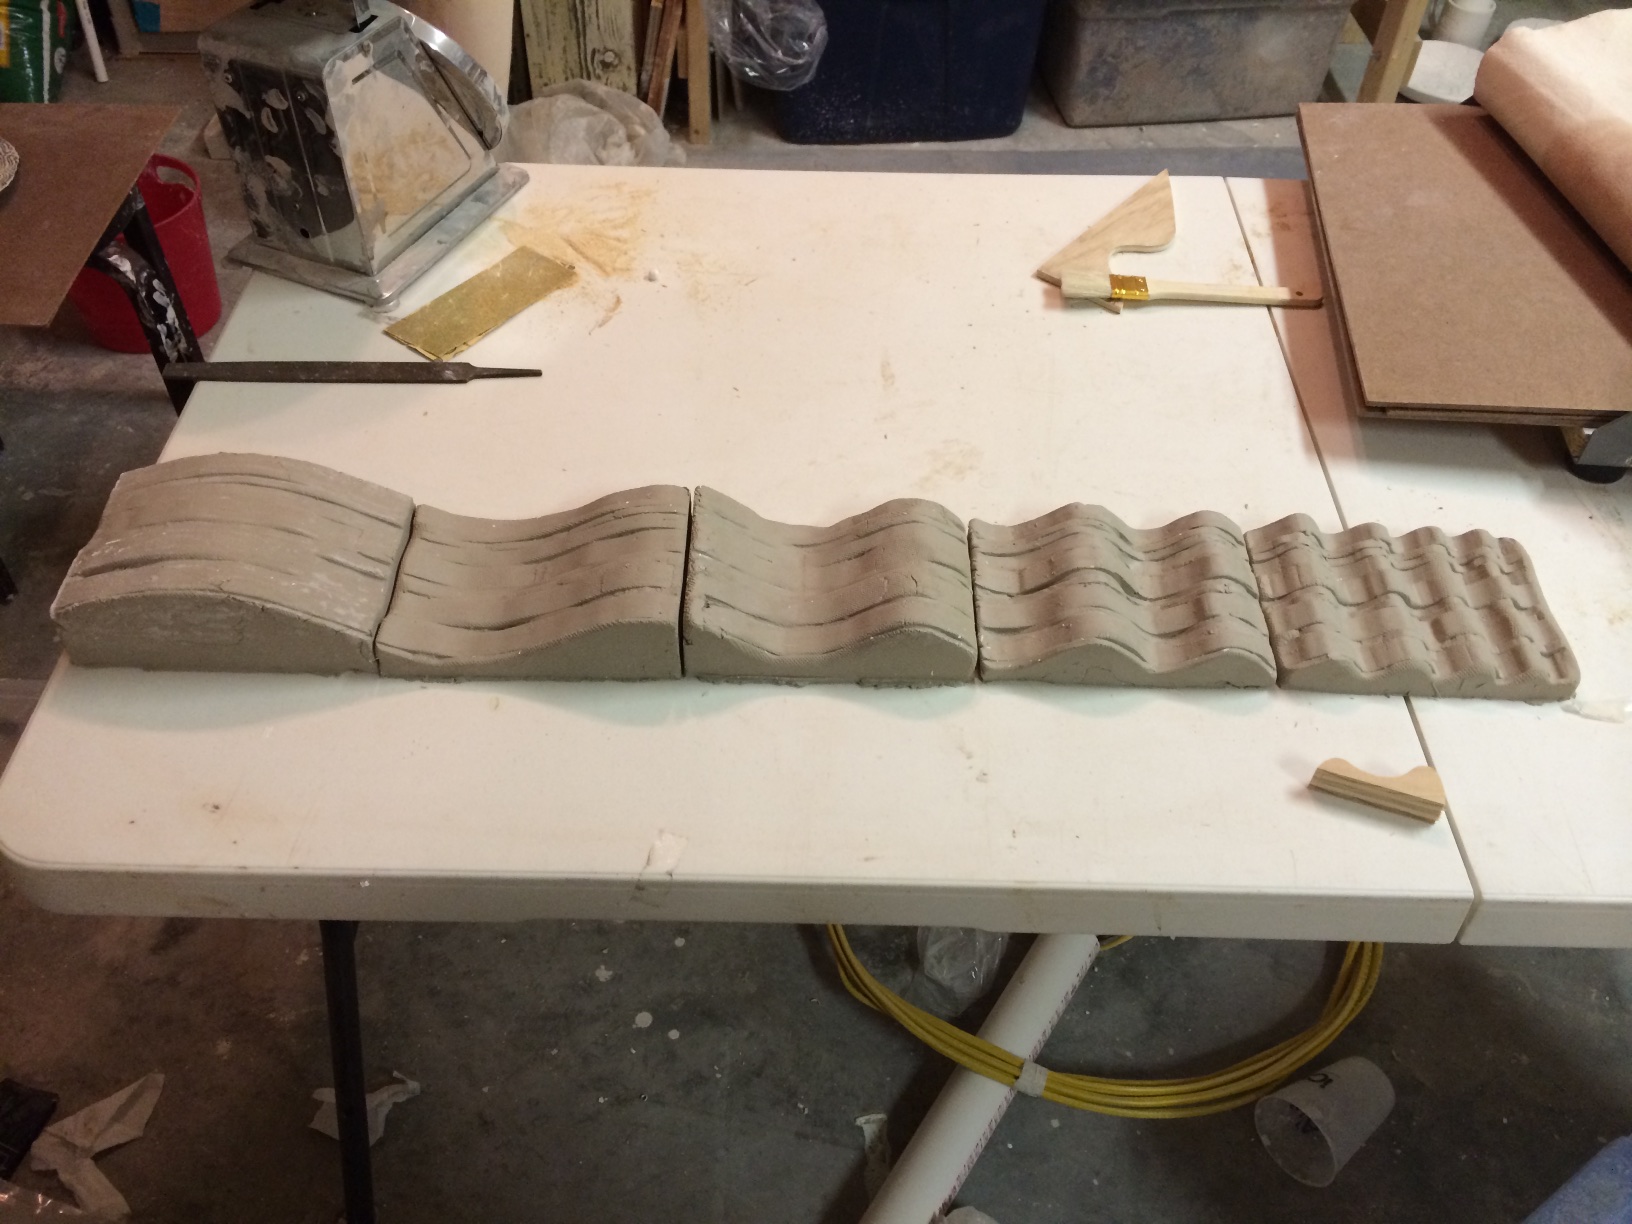
One set of tiles ready for firing. The molding process was repeated to get three sets of matching tiles.
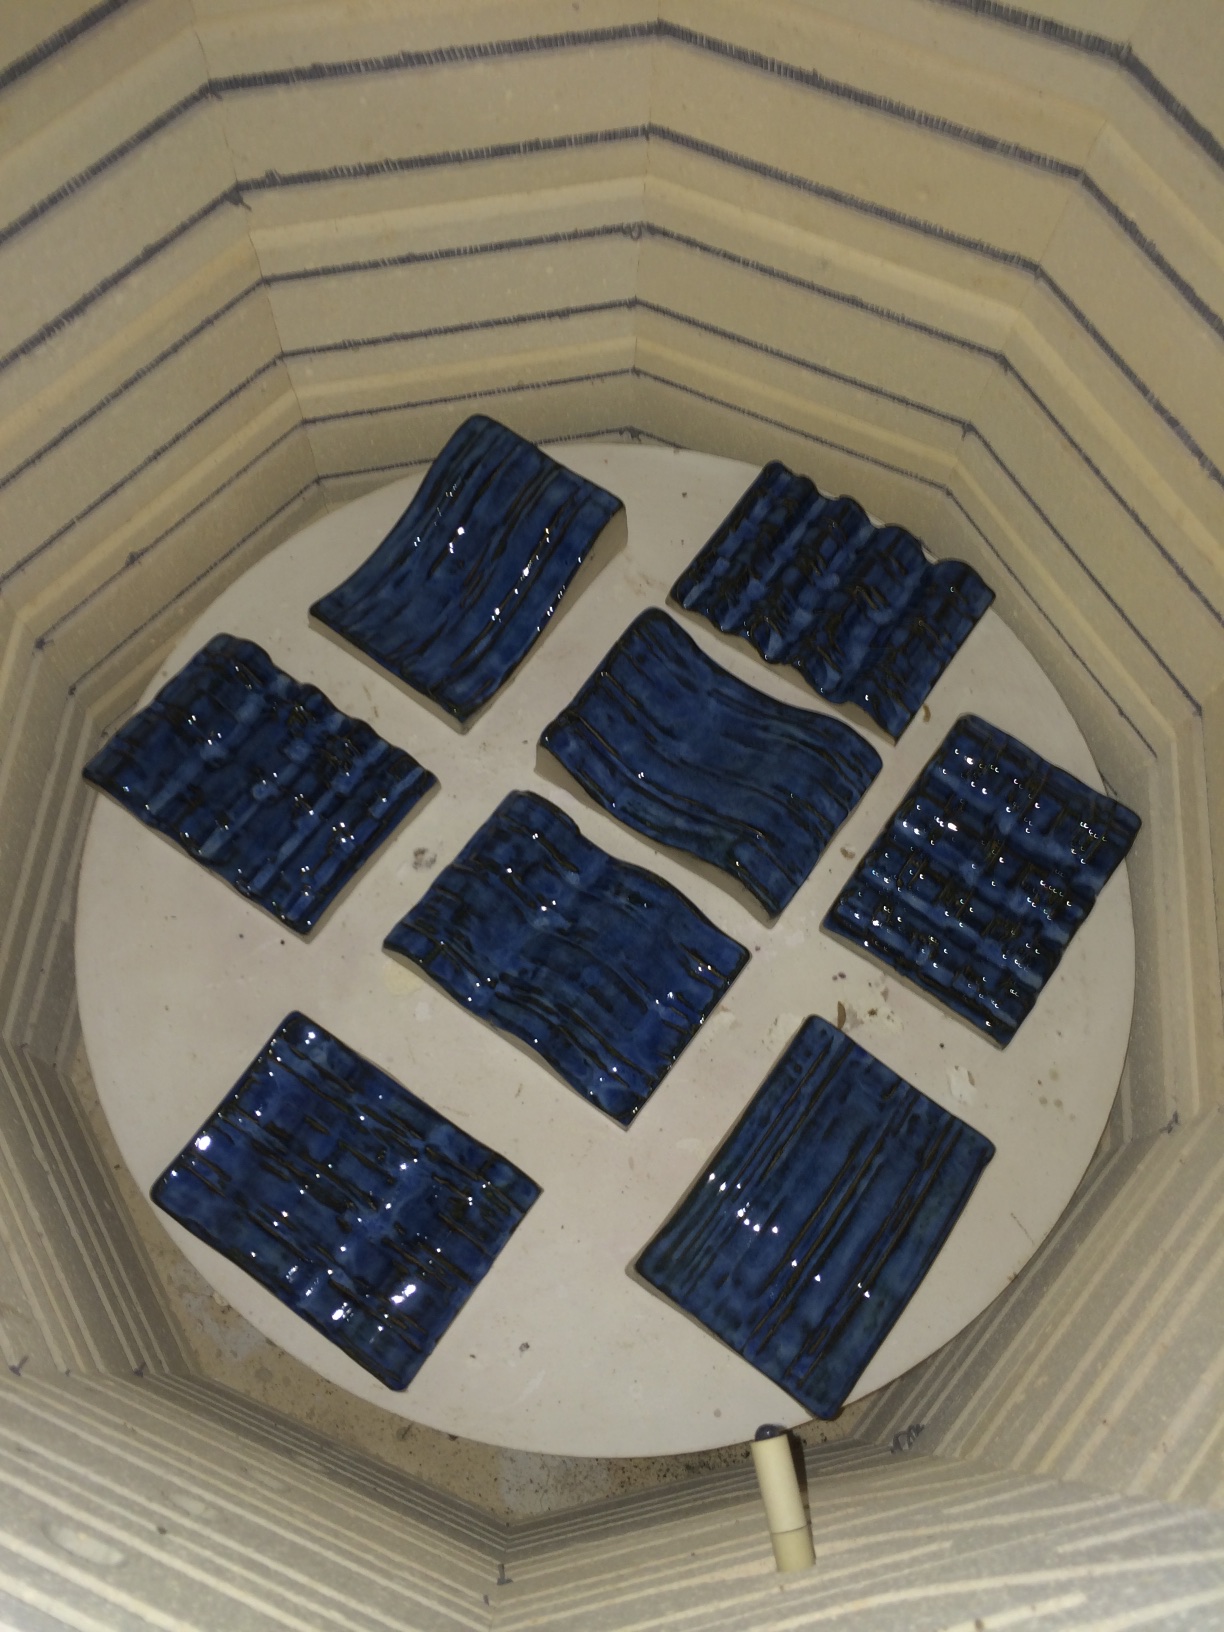
Coming out of the kiln after the glaze firing.
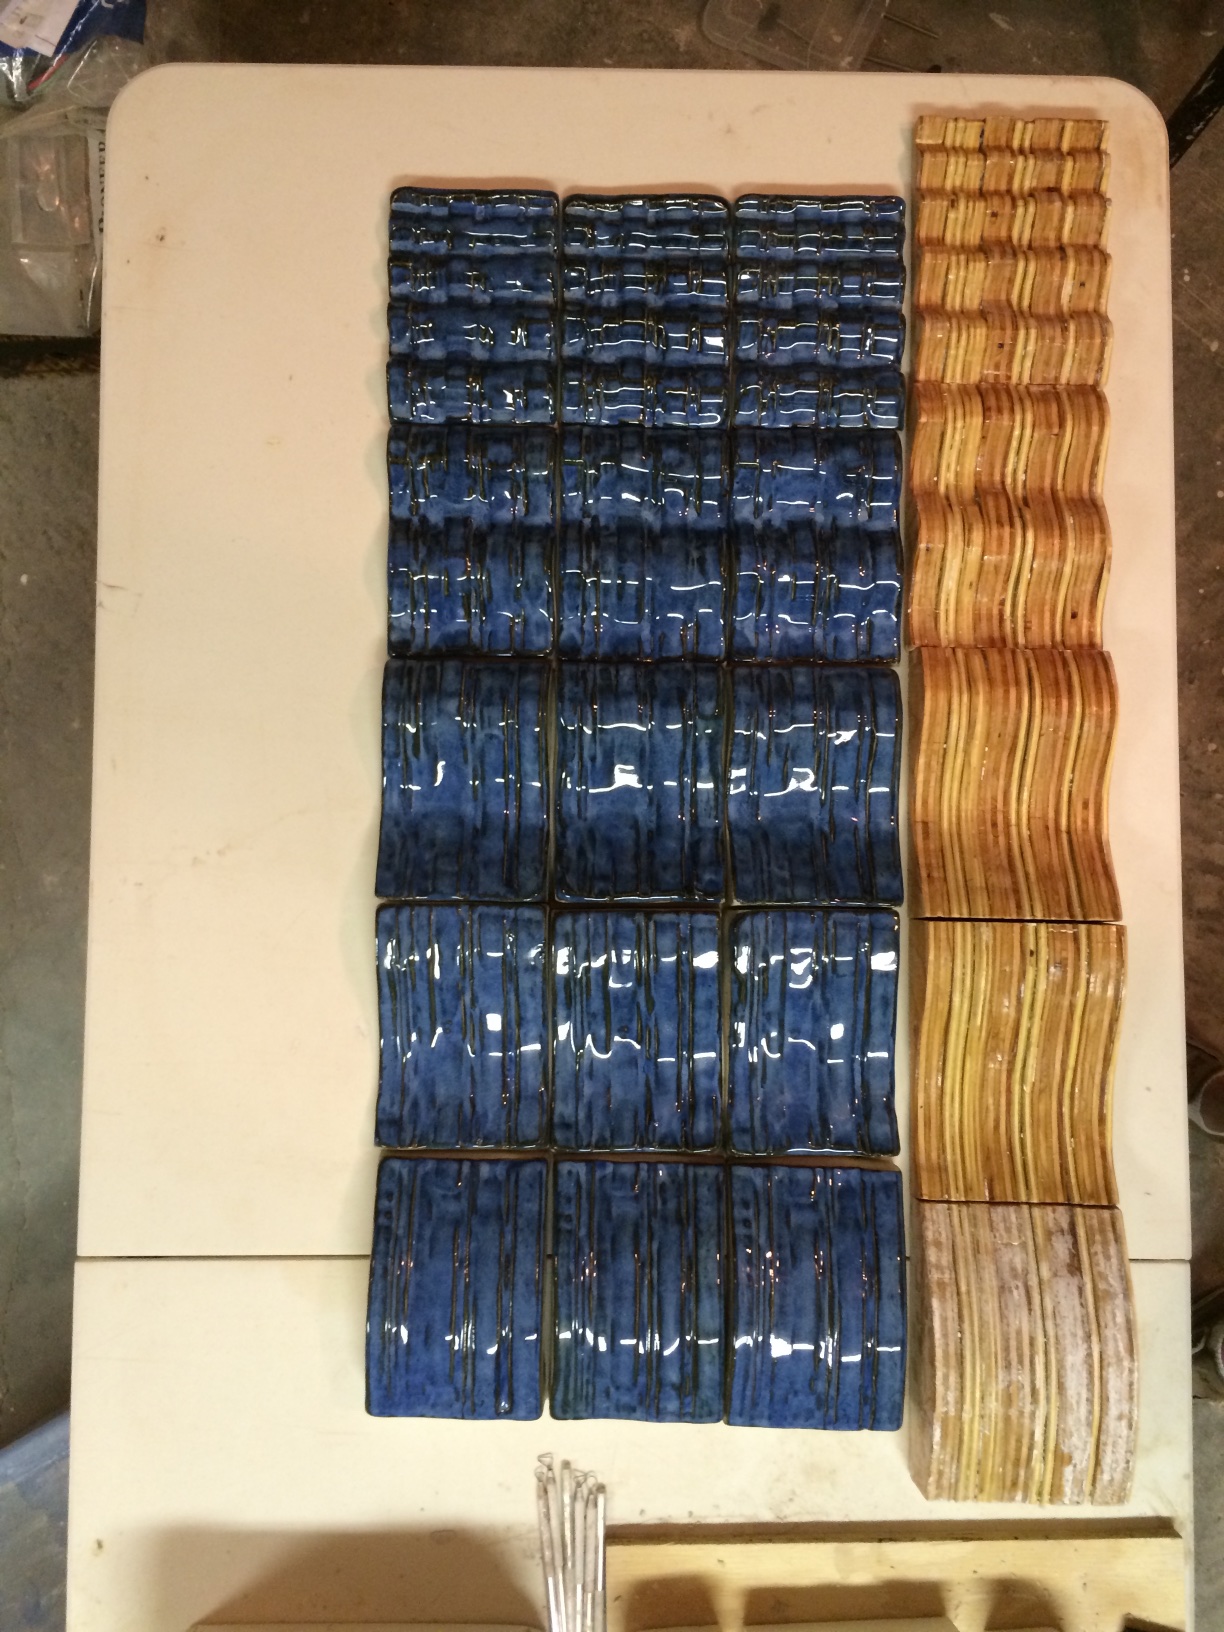
Here you can see the shrinkage of the clay during the molding and firing process.
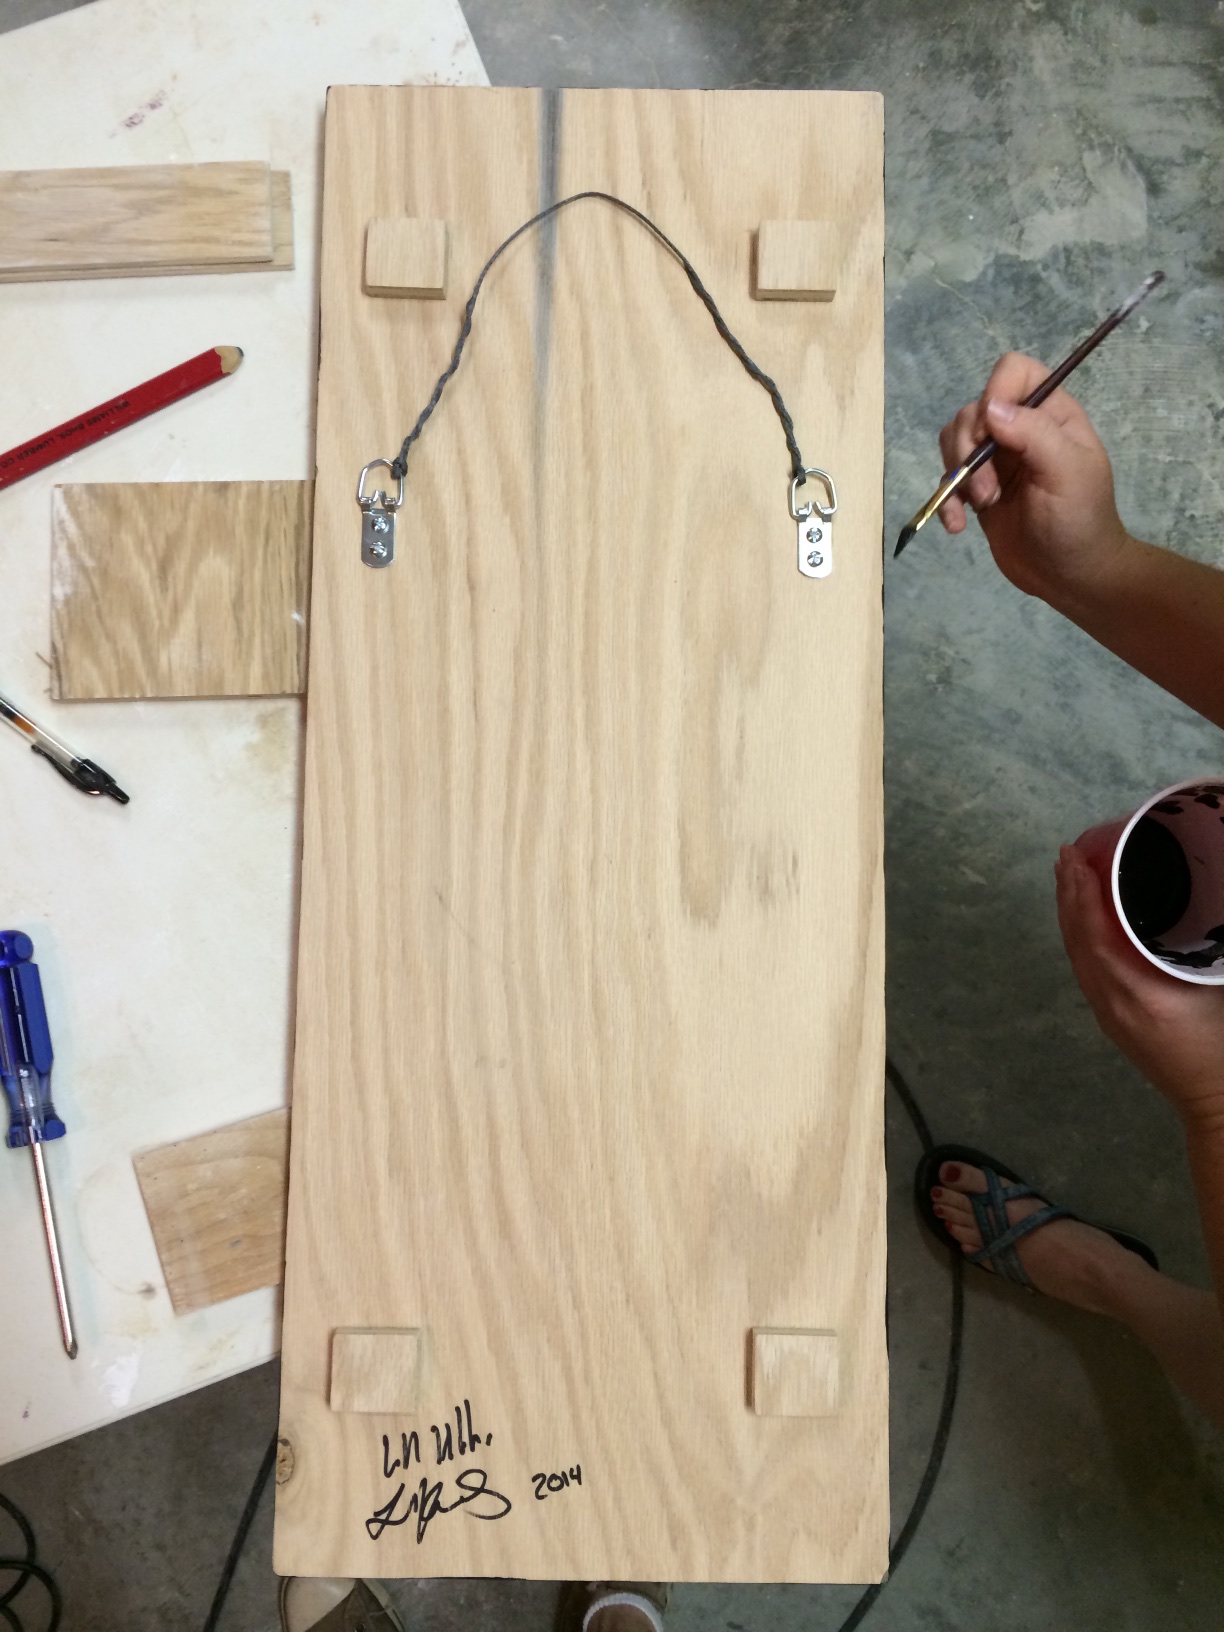
Plywood backing, with picture hanging wire and wooden blocks to hold it out parallel to the wall. It was cut smaller than the tiles so that they would overhang by about 1" on all sides.
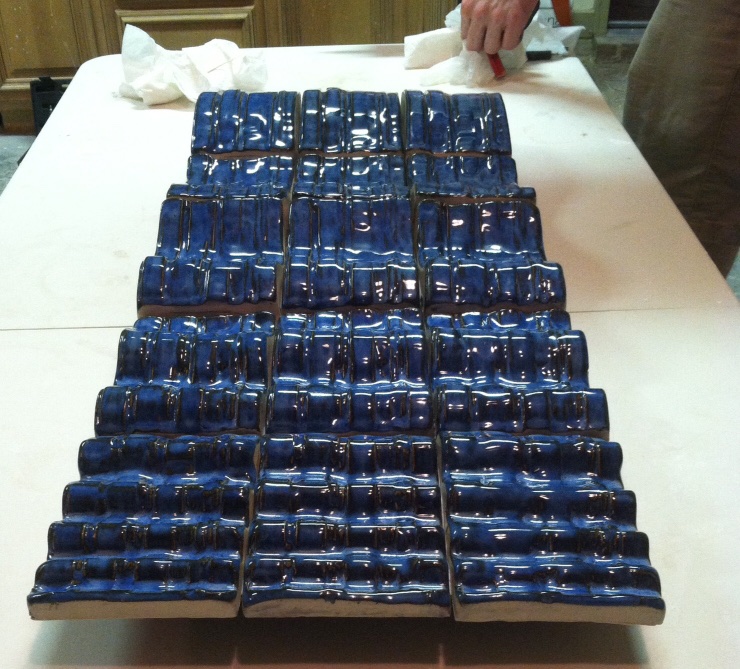
Carefully aligning the tiles on the backing board to get ready for gluing.
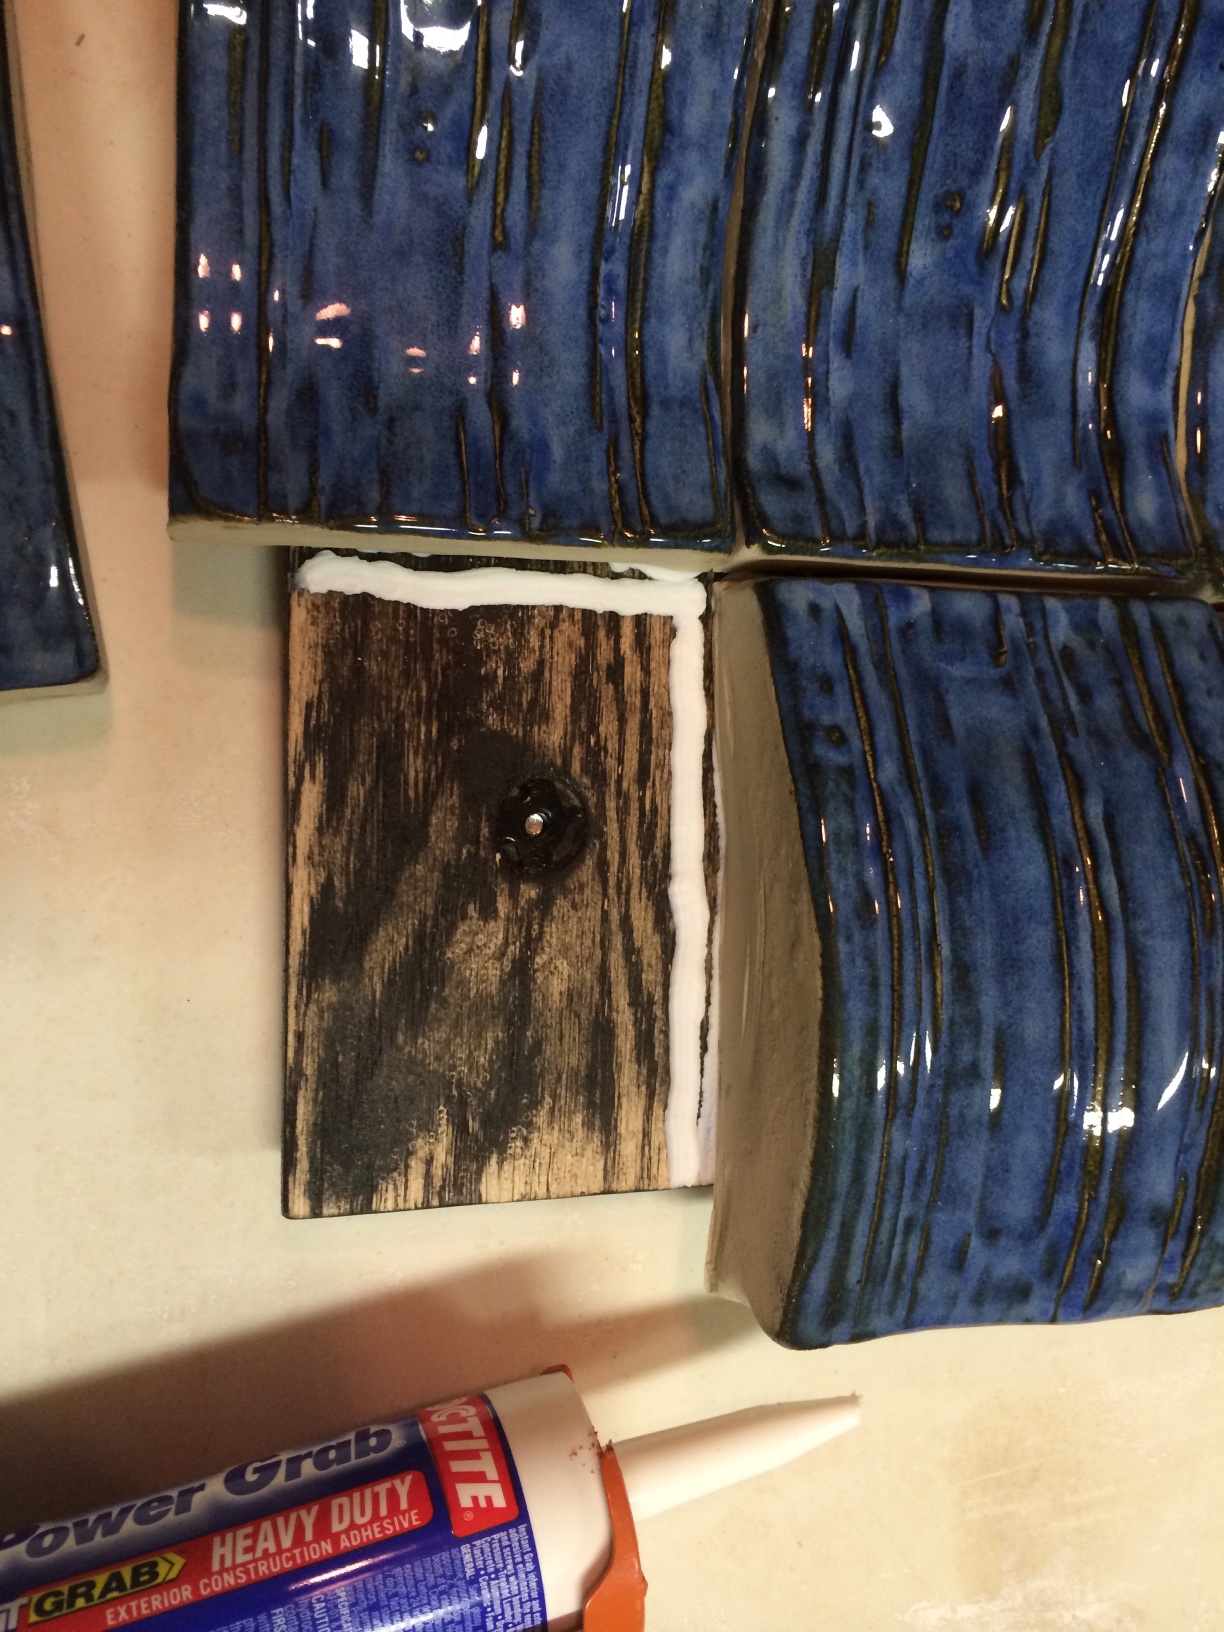
Glueing the tiles down with construction adhesive. We applied a little black paint to the front of the backing board to make it less visible through the cracks between tiles.
